
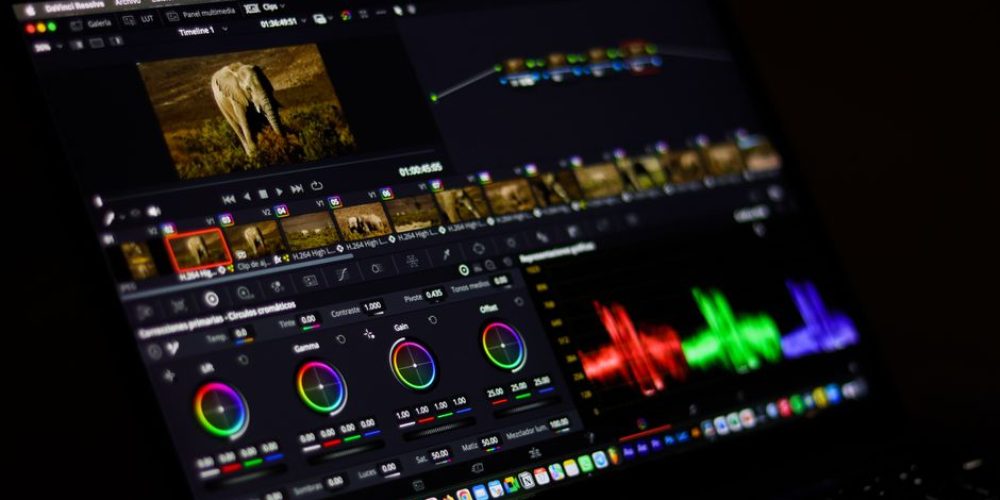
Every time you watch a film where every scene feels tonally unified — where the shadows carry the same cool blue and the skin tones stay consistent from the office to the parking garage — you’re likely looking at the work of a well-applied LUT. LUT stands for Look-Up Table, and it is one of the most practical yet most misunderstood tools in video post-production. Apply one correctly and your color grade looks polished and intentional. Apply one in the wrong order and your footage looks overcooked, washed out, or broken.
This guide cuts through the confusion. You will learn exactly what a LUT is under the hood, why there are different types, how 1D and 3D LUTs differ, and — most importantly — the step-by-step workflow professionals use to get consistent color across every clip. Whether you edit corporate interviews, branded content, or short films, this is the foundation you need before touching a slider.
What Is a LUT, Really?
A LUT is a mathematical formula that maps one set of color values to another. Think of it as a table of instructions: for every color value that comes in, the LUT outputs a new corresponding value. The result is a predictable, repeatable color transformation applied across your entire clip — or your entire project — in one step.
A common analogy is a filter, but that undersells the precision. Unlike a basic social-media filter, a LUT is designed to work with professional video formats and can be applied across major editing software including DaVinci Resolve, Adobe Premiere Pro, Final Cut Pro, and even mobile tools like CapCut. The transformation happens mathematically, pixel by pixel, based on a predefined recipe — usually stored in a small .cube or .3dl file you import into your editor.
The practical payoff is significant. Instead of manually rebuilding your color grade on every clip, a LUT applies consistent color science in seconds — which is why professional colorists, branded content teams, and documentary editors all rely on them. At Tone Production, LUTs are part of a broader post-production workflow that keeps visual identity consistent across multi-day shoots and multi-camera setups.
The Two Fundamental Categories of LUTs
Before worrying about specific LUT packs, you need to understand the two broad categories: technical LUTs and creative LUTs. These are not interchangeable, and confusing them is the root cause of most “LUTs don’t work” complaints.
Technical LUTs
Technical LUTs perform a functional, corrective job. Their primary role is to convert footage from one color space to another — for example, translating Sony S-Log3, Canon C-Log3, or Panasonic V-Log into a standard deliverable color space like Rec. 709. When you shoot in a log profile, the camera intentionally records a flat, desaturated image to preserve as much dynamic range as possible — sometimes capturing 12 to 14 stops versus the 6 to 8 stops in a standard picture profile. A technical LUT normalizes that flat footage so it looks like a usable, neutral starting point.
Technical LUTs also include calibration LUTs applied to monitors to ensure accurate color representation across devices, and viewing LUTs loaded onto on-set monitors so a director of photography can see a preview of the intended final look even while shooting flat log footage.
Creative LUTs
Creative LUTs are the ones most people search for. They apply a specific visual style — a teal-and-orange cinematic look, a warm golden-hour tone, a desaturated noir palette, or a Kodak film stock emulation — to footage that has already been technically corrected. Creative LUTs are designed to be applied to footage that is already balanced and neutral, not to raw log footage straight out of the camera.
This ordering distinction is non-negotiable: technical correction first, creative grade second. Applying a creative LUT to uncorrected log footage is the single most common mistake beginners make — and it is why their footage often looks washed out or over-saturated.
1D LUTs vs. 3D LUTs: What the Technical Format Means
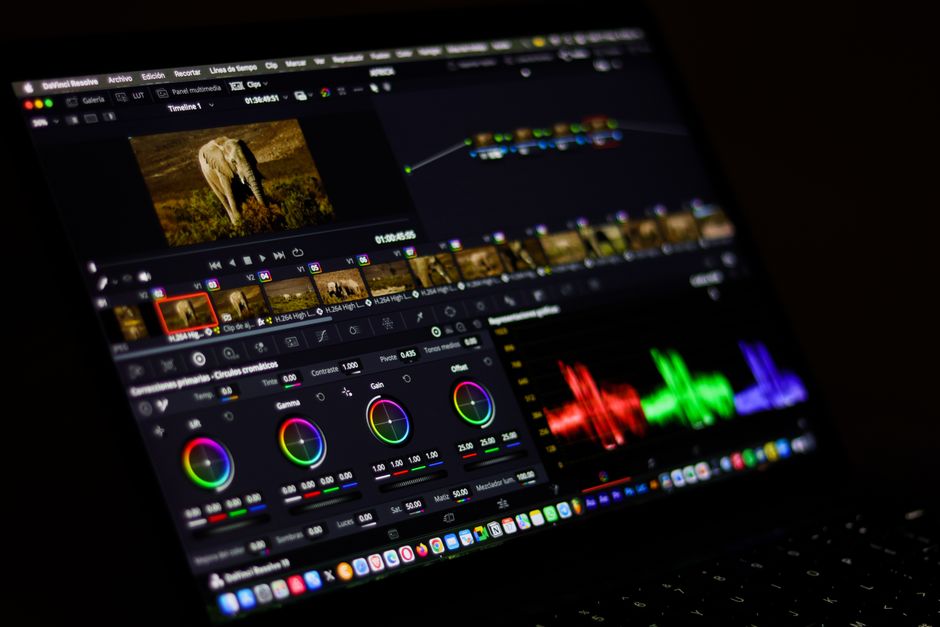
LUTs also differ by their technical structure, and understanding this saves you from compatibility headaches.
1D LUTs
A 1D LUT adjusts each color channel — red, green, blue — independently along a single axis. It can make reds brighter or blues darker, but it cannot create cross-channel interactions. A 1D LUT can shift luminance and basic tonal values, but it cannot push a red toward orange or pull a blue into teal. This makes 1D LUTs useful for simple brightness, contrast, and gamma adjustments, but limited for complex creative grading.
3D LUTs
A 3D LUT uses a three-dimensional color cube where each axis represents one RGB channel. Because all three channels interact simultaneously, a 3D LUT can reposition any color anywhere within that cube — creating complex hue shifts, cross-channel relationships, and nuanced looks that a 1D LUT simply cannot produce. For this reason, 3D LUTs are the industry standard for creative color grading. Virtually every professional LUT pack you download will be a 3D LUT in .cube format.
The Correct LUT Workflow, Step by Step
The sequence matters as much as the LUT itself. Here is the professional order of operations used on productions of all sizes — from solo content creators to multi-camera commercial shoots handled by teams like those at Tone Production in New Orleans and Houston:
- Step 1 — Shoot with intention. If your camera supports a log profile, use it. Log footage gives you maximum dynamic range and far more latitude to work with in post. Flat footage is not a problem; it is a feature.
- Step 2 — Color correct first. Before any LUT, balance your footage. Fix white balance so neutrals are truly neutral. Correct exposure so highlights are not clipped and shadows hold detail. Match clips from different cameras or lighting conditions so the image is internally consistent.
- Step 3 — Apply a technical LUT (if shooting log). Import the appropriate camera-specific technical LUT to bring your log footage into a standard color space. Match the LUT exactly to your camera’s log profile — a Sony S-Log3 LUT applied to Canon C-Log3 footage will look wrong.
- Step 4 — Apply your creative LUT. Now add the look. Load the LUT on an adjustment layer above your corrected timeline so it affects all clips simultaneously. Reduce the opacity or intensity if the software provides a mix slider — most creatives dial LUTs to 70–85% rather than 100% for a more natural result.
- Step 5 — Check skin tones and scopes. Use a waveform or vectorscope to confirm the grade is not pushing skin tones into unnatural territory. Skin tones should cluster in a predictable range on a vectorscope regardless of the look applied.
- Step 6 — Fine-tune per clip. A LUT is a starting point, not a final answer. Add individual node or layer adjustments below (correction) and above (refinement) the LUT to handle shots that need extra attention.
Common LUT Mistakes to Avoid
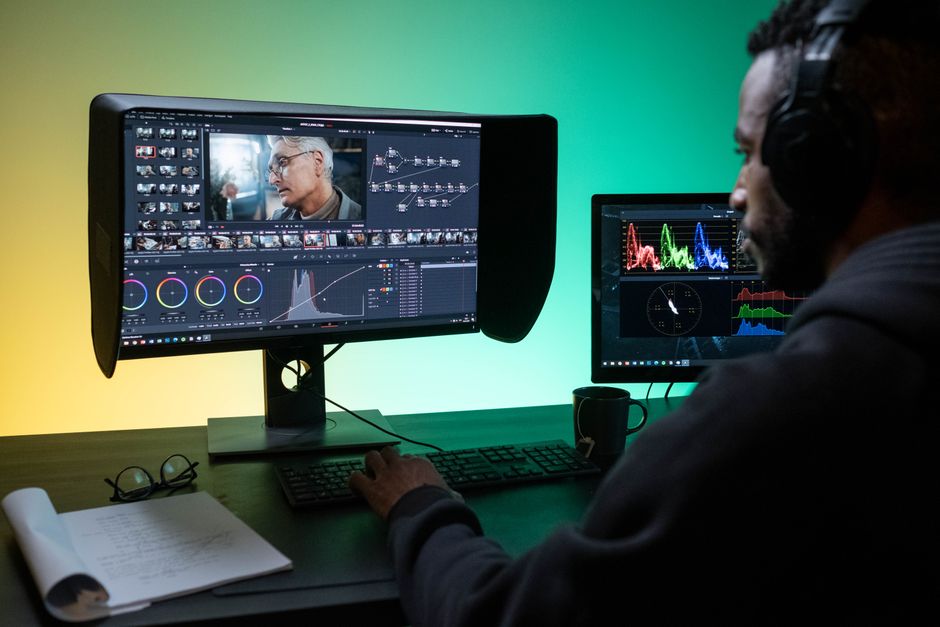
Even experienced editors fall into these traps. Knowing them ahead of time keeps your grade clean:
- Applying a creative LUT to uncorrected footage. LUTs cannot fix bad exposure or white balance — they amplify whatever is already there. Correct first, always.
- Using the wrong LUT for your camera profile. A log LUT designed for one camera’s log profile applied to a different camera’s footage will produce incorrect results. Always match the LUT to the specific log format you shot in.
- Stacking multiple creative LUTs at full strength. Layering two or three LUTs without reducing their intensity produces over-saturated, artificial results. Use one creative LUT and adjust it.
- Ignoring skin tones. Always verify how a LUT affects the people in your frame — especially in interview, corporate, or healthcare video work where accurate skin representation is essential.
- Not saving your custom grade as a LUT. If you spend an hour building a perfect look for a client, export it as a custom LUT. You can reapply that exact grade to future projects for that client in seconds, ensuring long-term visual consistency.
Building a Signature Look with Custom LUTs
Pre-made LUTs are an excellent starting point, but developing a custom LUT — one that represents your visual identity or a client’s brand — is where long-term consistency lives. Most professional color tools, including DaVinci Resolve (free version included), allow you to export any grade as a .cube file. That file becomes your personal template.
For production companies working across multiple markets — Atlanta, Tampa, and beyond — a shared custom LUT library means every editor on every project starts from the same color baseline. The result is a body of work that feels visually unified regardless of which camera, location, or crew captured the footage.
The bottom line: LUTs are not a shortcut around good color work — they are a system for scaling good color work efficiently. Correct your footage properly, choose the right LUT type for the right job, and treat every creative LUT as a starting point rather than a final answer. Build that habit early and consistent, professional color becomes a repeatable outcome rather than a happy accident.
If you’d prefer to hand the entire post-production pipeline to a team that treats color as part of the creative strategy from day one, Tone Production — led personally by Benjamin Tone — handles everything from 8K RAW capture to AI-enhanced color finishing. Reach out whenever you’re ready.
Frequently Asked Questions
What does LUT stand for in video editing?
LUT stands for Look-Up Table. It is a file containing a mathematical formula that maps one set of color values to another, effectively applying a color transformation to your footage in one step. LUT files are typically saved in .cube or .3dl format and can be imported into editing software like DaVinci Resolve, Adobe Premiere Pro, and Final Cut Pro.
What is the difference between a technical LUT and a creative LUT?
A technical LUT performs a corrective function — most commonly converting log footage (such as S-Log, C-Log, or V-Log) from a flat, low-contrast color space into a standard deliverable color space like Rec. 709. A creative LUT applies a stylistic look — a film emulation, a cinematic tone, or a specific mood — to footage that has already been technically corrected. Always apply technical LUTs before creative ones.
Do I need to shoot in log to use LUTs?
No. You can apply creative LUTs to footage shot in any color profile, including standard Rec. 709. However, shooting in a log profile gives you significantly more dynamic range and flexibility in post, which means your final grade will look cleaner. If you shoot in log, you will also need a technical LUT to convert the footage to a neutral starting point before applying any creative look.
What is the difference between a 1D LUT and a 3D LUT?
A 1D LUT adjusts each color channel — red, green, and blue — independently along a single axis. It can alter brightness and contrast but cannot create cross-channel color interactions. A 3D LUT uses a three-dimensional color cube that allows all three channels to interact simultaneously, enabling complex hue shifts and nuanced looks. For virtually all creative color grading, 3D LUTs are the industry standard.
Why does my LUT look washed out or wrong?
The most common cause is applying a creative LUT to log footage without first normalizing it with a technical LUT or manual color correction. Log footage is intentionally flat, and a creative LUT applied on top will look broken. Always correct exposure and white balance, apply a technical LUT if needed, and then add your creative LUT. Also confirm the LUT is designed for the specific log profile your camera uses.
Can I create and save my own LUT?
Yes. In DaVinci Resolve and most professional color tools, you can export any color grade you have built as a .cube LUT file. This allows you to reuse that exact look on future projects, share it with other editors, or apply it instantly to new footage from the same client or campaign — making it a powerful tool for long-term visual consistency.
How much should I reduce a LUT’s intensity?
Most professional colorists dial creative LUTs back from 100% to somewhere between 65% and 85%, depending on the look. Applying any LUT at full strength often feels heavy-handed, especially on diverse lighting conditions. Reducing the mix or opacity lets the original color information breathe through and results in a more natural, refined grade.