
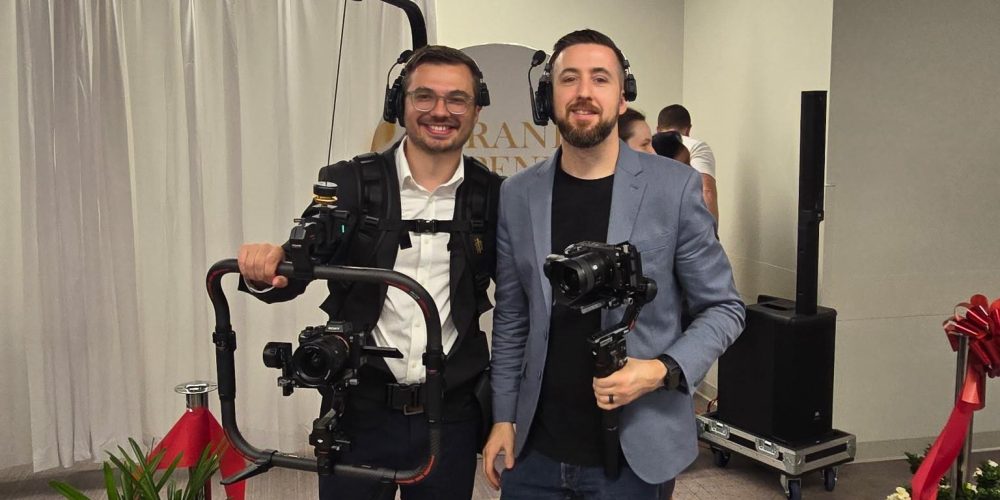
Why Lifehacks Matter in Professional Video Production
Gear lists and technical specs get most of the attention in videography education. What rarely gets discussed are the small, battle-tested habits and shortcuts that separate a smooth, efficient shoot from a chaotic one. These videography lifehacks are not about cutting corners—they are about working smarter, protecting your footage, and elevating the final product without adding hours to your day. Every tip below comes from real production scenarios, not theory.
On-Set Camera Hacks
1. Use Your Shutter Speed as a Creative Tool, Not Just a Rule
The 180-degree shutter rule (shutter speed = double your frame rate) is foundational, but pros bend it intentionally. Dropping to 1/100 on a 24fps timeline adds a subtle organic blur during motion. Pushing to 1/500 creates a hyper-crisp, commercial aesthetic. Knowing why the rule exists lets you break it on purpose.
2. Mark Your Focus Points Before Talent Arrives
Place gaffer tape marks on the floor at your exact focus distance before your subject steps on set. This eliminates hunting and refocusing between takes. On interview setups especially, a consistent focus mark means your AC—or you, if you’re running solo—can pull focus reliably without a monitor tap every single time.
3. Lock Exposure With a Grey Card, Not Your Eye
Eyes adapt to light constantly; cameras do not. Holding an 18% grey card in frame for two seconds at the top of each new lighting setup and custom white balancing off it costs almost nothing in time but saves significant correction work in post. It also gives your colorist a reliable reference point if you’re handing footage off.
4. Shoot Extra Handle on Every Clip
Rolling for three to five extra seconds before calling “cut” gives your editor room to find the exact frame without a hard stop artifact. This is especially critical when shooting B-roll that will be cut to music—an abrupt clip end can kill a perfectly timed sequence. Train yourself to say “cut” and then actually hold the shot.
5. Use ND Filters to Control Depth of Field, Not Just Exposure
Most videographers reach for ND filters when it gets bright outdoors. Pros use them intentionally to hold a wide aperture in any light condition, keeping their shallow depth of field and cinematic look regardless of the sun’s position. A variable ND from roughly 2 to 5 stops handles the majority of run-and-gun situations without swapping glass.
6. Frame With Negative Space When Interviewing
Centering a talking head is a beginner instinct. Offset your subject toward one side of the frame and leave deliberate negative space on the other. This creates visual tension, looks more editorial, and leaves room for lower-third graphics in post without covering the subject’s face. It is one of the fastest ways to make an interview feel broadcast-quality.
Audio Lifehacks
7. Record a Minute of Room Tone at Every New Location
At the start or end of each new location, roll thirty to sixty seconds of clean room tone with everyone standing still. This ambient recording is your post-production insurance policy. Editors use it to smooth transitions, fill gaps, and remove dialogue noise without audible jumps in the background audio bed.
8. Position Lavs Off-Axis to Reduce Plosives
Clipping a lavalier microphone dead-center on the sternum picks up every plosive “P” and “B” sound. Position the lav slightly off-axis—angled upward and offset to one side, roughly at the second or third shirt button—and you will immediately reduce harsh consonants without touching EQ. This small mic placement shift saves real correction time in the audio suite.
9. Run a Scratch Track on the Camera’s Internal Mic
Even when using a dedicated audio recorder, keep the camera’s internal microphone active. This scratch track serves as a sync reference in post and as an emergency backup if a wireless lav drops out. It costs nothing and has saved countless edits.
Workflow and Organization Hacks
10. Color-Code Your Cards and Drives on Day One
Use colored electrical tape or label dots to mark each memory card and hard drive at the start of every production. Assign a color to camera A, camera B, audio, and drone. This visual system eliminates card confusion during fast-paced shooting and prevents the catastrophic mistake of reformatting the wrong card mid-day. Simple, zero-cost, and highly effective.
11. Build a Shot List That Accounts for Sun Position
Schedule your exterior golden-hour shots first in your morning or last in your afternoon, and build the rest of the day’s interior work around them. A shot list that ignores the sun’s arc will constantly force you to fight harsh midday shadows or chase fading light. Tools like PhotoPills or SunSurveyor show you exactly where the sun will land at any time, on any date, at any location.
12. Use Proxy Workflows From the Start
If you are shooting in high-resolution formats, generate low-resolution proxy files immediately on ingest and edit from those. Your timeline will play back smoothly without expensive hardware, and you switch back to full-resolution originals only at export. This one workflow habit can cut editing session frustration in half and keeps projects moving without render pauses.
Post-Production Tricks
13. Cut to Dialogue First, Then Add B-Roll
Many editors make the mistake of trying to find B-roll while assembling the timeline. Instead, lock your A-roll (interviews, narration, dialogue) first so you know precisely where every gap lives. Then hunt for B-roll to fill those specific windows. This approach is faster, eliminates over-cutting, and ensures that every B-roll choice serves the story rather than just decorating it.
14. Use Reference Frames for Color Consistency Across Cuts
Before grading a scene, pull a still frame from the best-lit, best-exposed shot in that scene and pin it as your color reference. Grade every other clip in that scene to match that reference frame. This is faster and more consistent than grading each clip independently and chasing a subjective “looks about right” target from memory.
15. Export a Rough Cut for Client Review Before Final Audio Mix
Sending a client a polished, fully mixed video for their first review is a setup for expensive revision cycles. Instead, deliver a picture-lock rough cut with basic audio levels—clear enough to follow, rough enough that everyone knows it is not final. Lock the edit before the mix, not after. This is standard practice on professional productions for good reason: it prevents you from remixing audio every time a client changes a line of dialogue.
Putting the Lifehacks Into Practice
No single hack transforms a production on its own. The professionals at agencies like Tone Production use combinations of these habits across every project—from commercial shoots in Houston to brand video campaigns in Atlanta and documentary work in New Orleans. The difference between a stressful shoot and a smooth one is rarely the gear—it is the ingrained habits that happen before the camera ever rolls and after the last card is pulled.
Incorporate two or three of these into your next production. After a few projects, they become automatic, and your overall quality ceiling rises permanently without any additional equipment spend.
If you are shooting in markets like Tampa or Jacksonville, local conditions—humidity, unpredictable weather windows, mixed interior and exterior locations—make workflow discipline even more important. The pros who thrive in those environments are not necessarily the ones with the biggest kit; they are the ones who have internalized habits like these and execute them consistently.
Start small. Pick one hack per category. Embed it. Then add another. That compound improvement is how professional-level output actually gets built.
Frequently Asked Questions
What is a videography lifehack?
A videography lifehack is a practical, field-tested shortcut or habit that helps videographers work faster, protect their footage, or improve output quality without adding significant cost or time. Examples include recording room tone at every location, using proxy workflows for smooth editing, and marking focus points before talent arrives on set.
Do these videography tips apply to solo shooters as well as full crews?
Yes. Most of these lifehacks were developed specifically because solo shooters and small crews need efficiency more than large productions do. Tricks like running a scratch track on your internal mic, color-coding cards, and shooting extra handle on every clip are especially valuable when there is no dedicated person watching each detail for you.
How do I stop losing footage to card or drive failures?
The most reliable method is to duplicate your cards to at least two separate drives the same day you shoot—before reformatting anything. Color-coding your cards by camera and audio role also prevents the common mistake of reformatting the wrong card in a hurry. Never reformat a card until you have confirmed that at least two copies of the data exist and are readable.
Is it worth using proxy files if I have a fast editing machine?
Even on high-performance workstations, proxy workflows speed up collaboration, remote editing, and timeline scrubbing in complex multi-cam projects. They also future-proof your workflow as resolution formats continue to increase. Many professional editors use proxies as standard practice regardless of their hardware spec.
What is the best way to maintain color consistency when editing a multi-camera project?
Match your cameras on set by using the same picture profile, white balance, and ISO across all bodies. In post, use a pinned reference frame from your best-exposed shot as your grade target and match every other clip to it. If you shot log, apply a consistent LUT before making any adjustments so all clips start from the same baseline.
Which areas does Tone Production serve?
Tone Production is a full-service video production company and creative agency with locations in 32 cities across 13 states, and we are still growing. We serve: Louisiana (New Orleans, Baton Rouge, Shreveport, Lafayette, Lake Charles, Covington); Alabama (Birmingham, Huntsville, Mobile, Auburn, Montgomery); Florida (Jacksonville, Tampa, Orlando, Destin, Pensacola); Texas (Houston, Beaumont, Waco, Corpus Christi); Colorado (Denver, Aspen); Mississippi (Jackson, Hattiesburg); Utah (Salt Lake City, Orem); Arizona (Scottsdale); Arkansas (Little Rock); Georgia (Atlanta); Illinois (Chicago); South Carolina (Charleston); Tennessee (Memphis).