
Lighting a single-subject interview is a solved problem. You place a key, add a fill, throw a rim light behind them, and you’re mostly there. Add a second person and the geometry changes completely. Now you have two faces to flatter, two sets of shadows to manage, multiple camera angles to protect, and a background that can easily go flat or blown-out if you’re not deliberate. Getting it wrong means one subject looks washed while the other sits in shadow — a visual inconsistency that destroys the credibility of even the strongest content.
This guide breaks down exactly how professionals approach a two-person interview lighting setup, from the core concept of cross-key lighting to rim-light placement, color temperature discipline, and the audio considerations that go hand-in-hand with every light stand you place.
Why Two-Person Lighting Is Its Own Problem
The instinct many shooters have is to treat two subjects as one — center a large source between them and call it done. That works in a pinch for a single wide-shot, but it falls apart the moment you cut to a tight single. A centered key almost always leaves one face flat when either camera cuts tight, because the light angle that flatters Subject A typically creates an unflattering shadow fall-off on Subject B.
The real issue is geometry. For a standard single-subject interview, your key sits roughly 45 degrees to one side of the camera axis. With two subjects facing each other — or both slightly angled toward camera — those 45-degree sweet spots point in opposite directions. You need to solve both simultaneously without lights appearing in each other’s shots and without spill from one subject’s key muddying the other’s shadow side.
The Cross-Key Method: Your Foundation
Cross-key lighting is the professional standard for two-person interview setups. The principle is elegant: Subject A’s key light sits on Camera B’s side of the frame, and Subject B’s key light sits on Camera A’s side. Each camera therefore sees the far subject properly keyed, with a natural shadow side, while also seeing the near subject receiving that same light as a soft fill from behind.
Position each key light just behind and to the outside of each subject, aimed diagonally across toward the opposite person. This creates depth without looking artificial, and each light does double duty — keying one face while wrapping softly around the other as cross-fill. Add one shared soft fill source centered in front of both subjects to gently lift any remaining shadow detail, and you have a complete, efficient rig.
Minimum Gear List for a Cross-Key Rig
- 2× key lights — ideally matched bi-color LED COBs or softbox-equipped panels so you can tune color temperature consistently
- 1–2× fill lights — a wide LED panel works well here; a single shared fill is enough for most two-shots, add a second only when subjects need separate shadow control
- 1× background or separation light — prevents the backdrop from going flat and adds visual depth behind both subjects
- 4–5 light stands minimum, with sandbags for any overhead or high-angle positions
- Diffusion modifiers — softboxes or large-frame diffusion panels on both keys; hard sources on two faces rarely flatters either
Rim Lights and Background Separation
Rim lights — sometimes called hair lights or backlights — are what separate professional two-person setups from amateur ones. These lights create a subtle halo that lifts each subject off the background, adding dimensionality that a flat frontal setup simply cannot replicate. Without rim separation, subjects can appear to merge visually into whatever is behind them, especially against dark or neutral backdrops.
Place rim lights high and slightly behind each subject, aimed at the crown and shoulders. Keep them at roughly 10–20% of your key light intensity — they should suggest depth, not create a bright outline that distracts. Watch for glare on subjects wearing glasses; even a slight downward angle adjustment on the rim usually solves it. If the rig is already crowded, the cross-key setup’s diagonal angle naturally produces a mild rim effect on the near subject, which you can use as your sole separation source in tighter spaces.
Background Lighting Decisions
Never let the background be brighter than your subjects. The eye is drawn to the brightest area of the frame, and if that is a wall behind your speakers rather than their faces, you have lost the viewer’s attention at the most critical moment. A background light dialed to roughly 50–70% of key intensity adds context and separation without competing. For a corporate or testimonial look, a subtle gradient — brighter on one side than the other — adds production value quickly.
Color Temperature: The Rule That Cannot Break
Matching color temperature across every light in your two-person setup is non-negotiable. Stick to a single color temperature — either daylight around 5600K or tungsten around 3200K — across all sources. Mixing them causes skin tones to shift between subjects or even across the two sides of a single face, which no amount of color correction in post can fully fix without creating new problems elsewhere in the frame.
Bi-color LED fixtures make this straightforward — dial all units to the same Kelvin value and lock them. If you are shooting in a location with existing practical lights or windows, neutralize those first before building your key and fill. Gel window light to match your fixture output, or gel your fixtures to match the ambient. Never assume two lights from the same manufacturer at the same stated Kelvin value will match perfectly — always do a white-balance test with both sources active before you roll.
Camera Layout and How It Affects Your Lighting
Lighting and camera position are inseparable decisions. The standard multi-camera layout for a two-person interview is three cameras: one wide shot anchoring both subjects, and one tight single on each person. This gives you the editing flexibility to cut freely between angles without losing visual continuity, and it means your lighting must hold up from all three perspectives simultaneously.
With the cross-key rig in place, check your wide shot first — both subjects should look balanced with similar brightness and contrast. Then check each single-subject angle. If one tight shot shows the key light stand in the background, raise the fixture on a C-stand arm or reposition slightly. The tight single cameras should sit as close to the shoulder line of the opposite subject as possible so the on-camera eye-line reads naturally.
Protecting the Lights from Appearing in Shot
- Use C-stand arms to raise and angle lights above the camera sightline
- Flag the front edge of softboxes to cut spill toward opposing cameras
- Recheck every camera angle after each light adjustment — a shift of a foot can put a stand back into frame
- In tight rooms, consider ceiling bounce with a large panel instead of dedicated stands that crowd the space
Audio Runs Parallel to Lighting — Plan Both Together
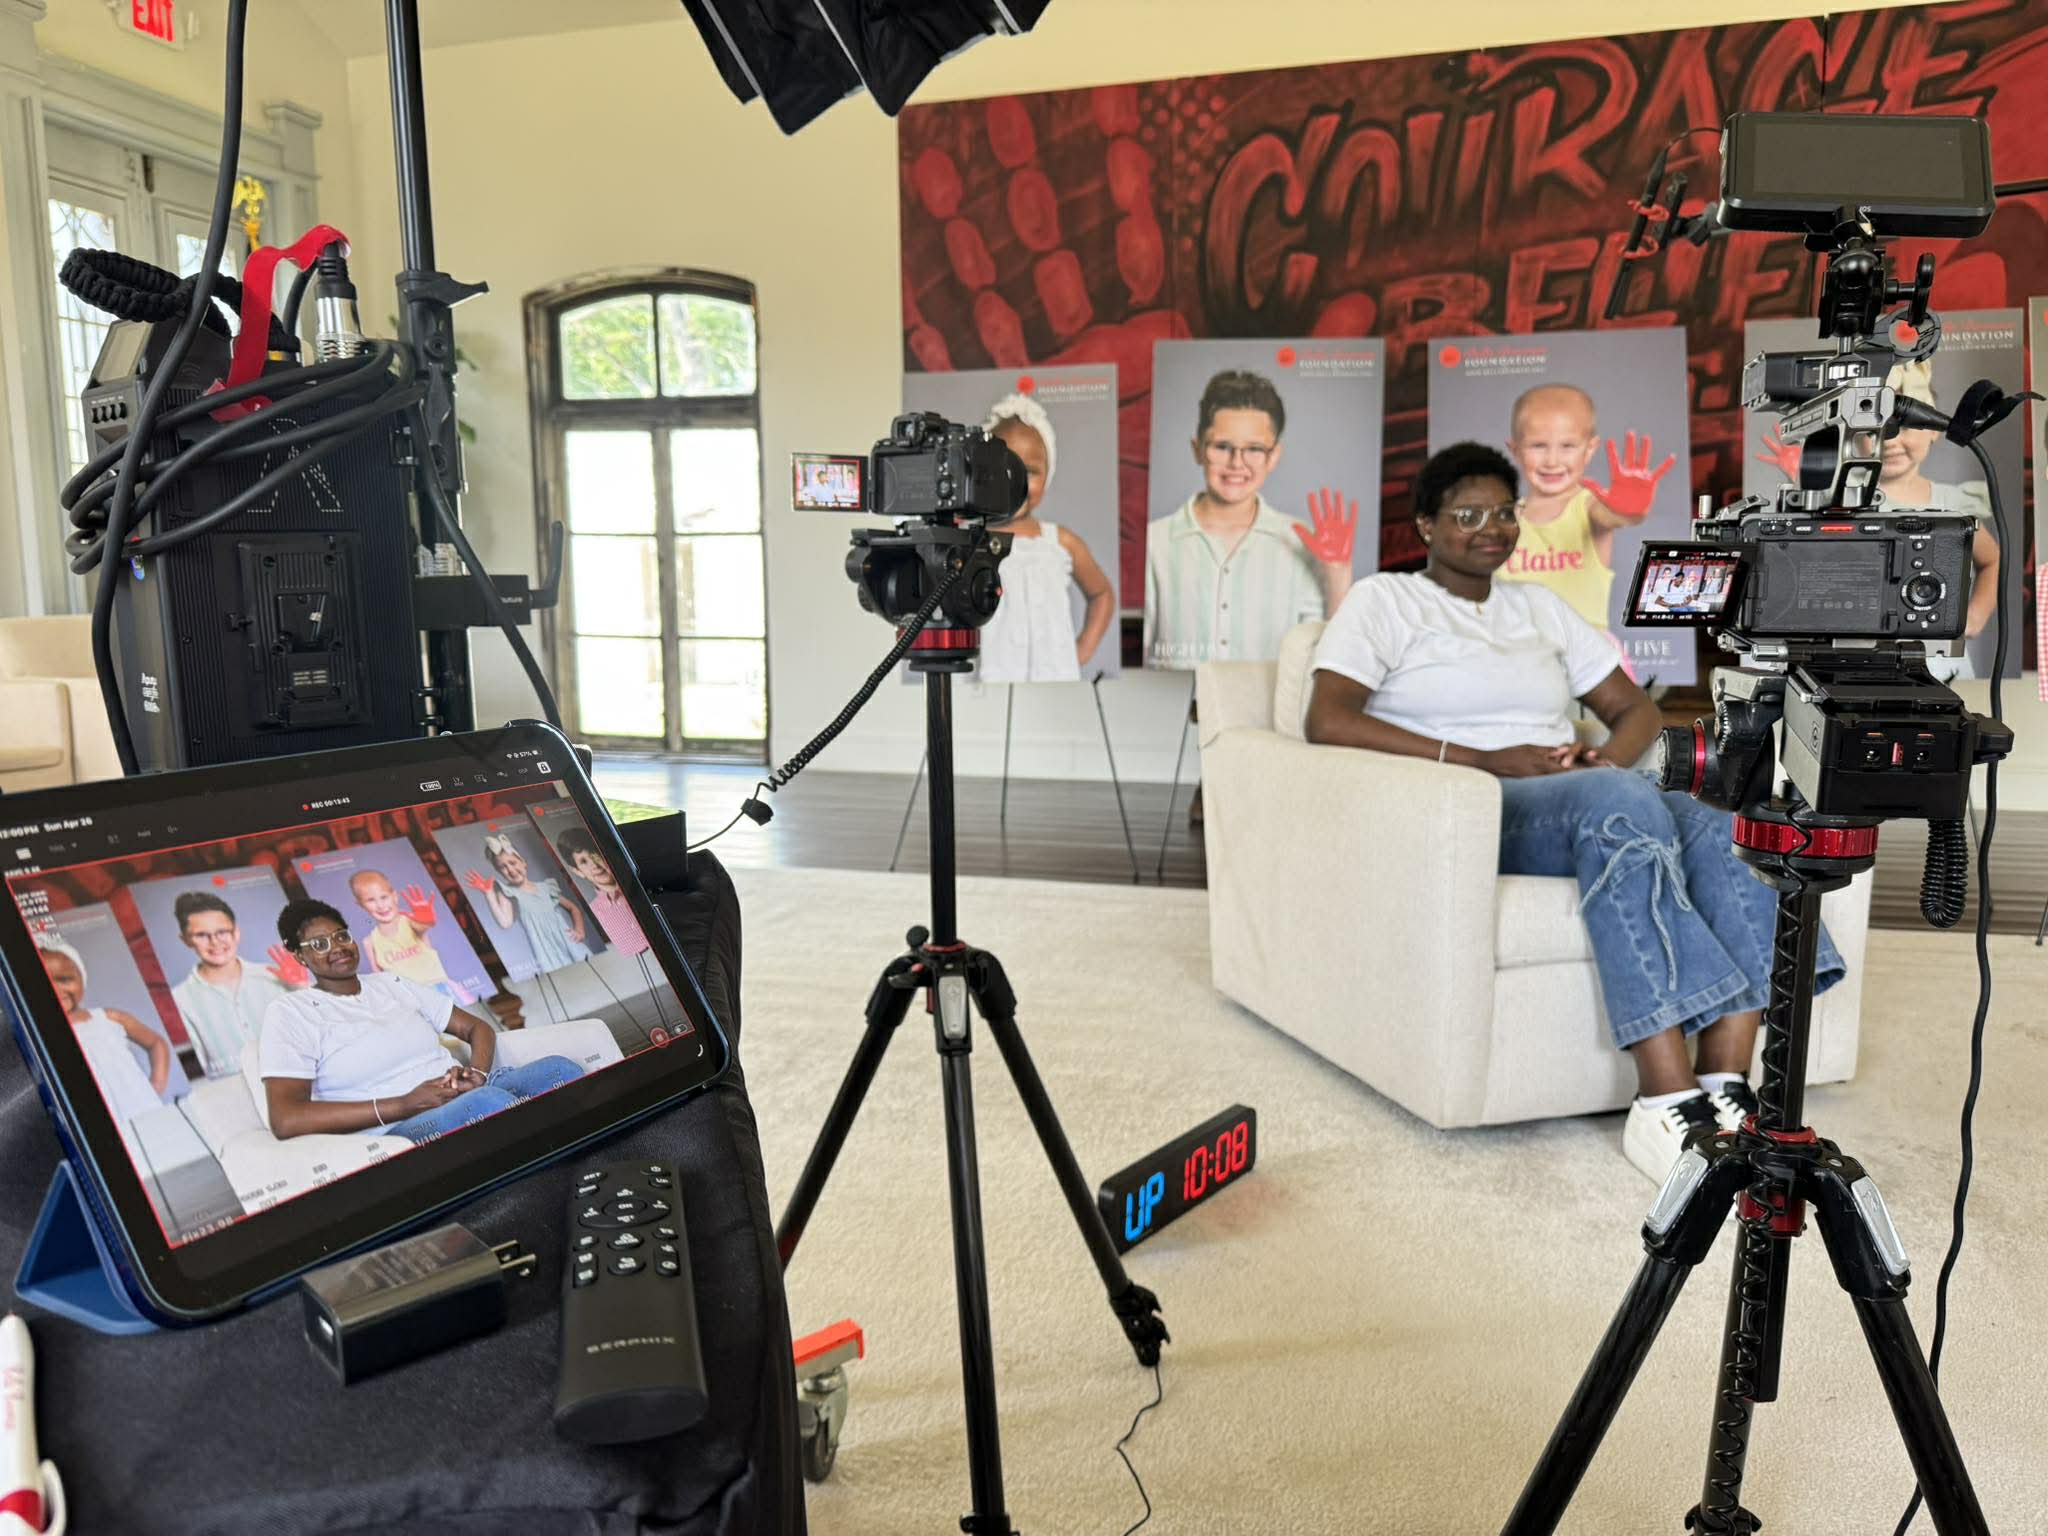
Every light stand you place is also a potential mic stand placement conflict. Plan your audio at the same time as your lighting. Each subject needs a dedicated lavalier microphone recorded to its own isolated track — this gives you clean mix control in post and lets you remove noise from one channel without affecting the other. If you use a boom instead, follow the three-to-one rule: the second mic should be at least three times farther from its subject than the first mic is from theirs, preventing phase cancellation between channels.
At Tone Production, two-person interview setups run dual lav systems as standard, alongside the team’s full suite of audio-visual (AV), drone, and photography services — so every element of a production day is covered under one crew. Teams working the Houston video production market and the Atlanta video production market handle multi-person interview shoots regularly in varied corporate and branded environments.
Common Two-Person Lighting Mistakes and How to Fix Them
One Subject Is Noticeably Brighter Than the Other
Check that both key lights are matched in output and distance. Measure the distance from each fixture to its subject and use a light meter or histogram check on each tight single independently. A difference of even 1.5 stops reads as one person being “more important” on screen.
The Background Looks Flat and Compressed
Add or increase your background separation light. Even a single small LED panel aimed at the backdrop from a 45-degree angle adds dimension. If budget or space doesn’t allow a dedicated background fixture, slightly repositioning your cross-key lights to allow a measured amount of spill toward the background can serve the same purpose.
Glasses Glare on One or Both Subjects
Lower the front edge of the key light fixture and raise the rear of the fixture slightly, tilting the output downward. If that doesn’t resolve it, try moving the key slightly more to the side rather than front-facing. Have subjects tilt their chin fractionally upward — this changes the reflection angle without requiring a full relight.
When to Bring in a Professional Crew
A well-executed two-person interview lighting setup rewards preparation and experience. The decisions compound quickly: camera count, key angles, fill ratios, rim intensity, color matching, audio isolation, and background control all interact. For high-stakes productions — executive interviews, testimonial campaigns, thought-leadership series — the cost of a professional crew is easily justified by the consistency and quality they deliver on set and in post.
Teams like those at Tone Production’s New Orleans video production office and the Tampa video production team bring a full 8K RAW cinema workflow, dedicated lighting technicians, and AI-enhanced post-production to every interview engagement — so the final deliverable looks as considered as the setup that created it. Follow Tone Production on Instagram and YouTube for behind-the-scenes production content and lighting breakdowns from real shoots.
Frequently Asked Questions
What is the best lighting setup for a two-person interview?
Cross-key lighting is the professional standard. Place Subject A’s key light on Camera B’s side and Subject B’s key light on Camera A’s side. Each light keys one face and acts as a soft cross-fill for the other. Add one shared fill source in front to lift shadow detail, and rim lights behind each subject for background separation. This gives you consistent, flattering light from every camera angle.
Can two people share one key light in an interview?
They can share a key in a wide-only shot, but it is not reliable for multi-camera setups. Once you cut to tight singles, a single centered key typically leaves one face flat or poorly lit. Each subject should have a dedicated key light matched in color temperature and intensity to the other.
How many lights do I need for a two-person interview?
The practical minimum is two key lights, one shared fill light, one background or separation light, and four to five stands. For shoots where each subject needs independent shadow control, add a second fill. That puts you at five to six total light sources for a complete, professional rig.
What color temperature should I use for a two-person interview?
Pick one color temperature — either daylight (around 5600K) or tungsten (around 3200K) — and apply it consistently across every light in the setup. Mixing color temperatures creates mismatched skin tones that color correction cannot fully fix in post. Bi-color LED fixtures make matching straightforward: dial every unit to the same Kelvin value and lock it before you roll.
How do I prevent lights from appearing in the camera shot during a two-person interview?
Use C-stand arms to raise fixtures above each camera’s sightline, flag the front edges of softboxes to cut spill toward opposing cameras, and check every angle after each adjustment. In tight rooms, a large ceiling bounce panel replaces multiple floor stands and keeps the space clear.
What is the best way to handle audio in a two-person interview?
Equip each subject with a dedicated lavalier microphone recorded to its own isolated track. Isolated tracks give you clean level control in post without one subject’s noise affecting the other’s channel. If you use a boom instead, follow the three-to-one rule: the second mic should be at least three times farther from its subject than the first mic is from theirs, preventing phase cancellation.
Who does corporate video production near Atlanta?
Tone Production handles corporate and brand video production in Atlanta and across Georgia. The team covers executive interviews, testimonial campaigns, event coverage, and full creative-agency strategy work. You can learn more at the Atlanta video production page on their website.
Are there good videographers near me in Florida?
If you are searching for videographers in Florida, Tone Production has teams in Jacksonville, Tampa, Orlando, Destin, and Pensacola. They offer corporate video, brand video, drone and aerial videography, audio-visual (AV) and live event production, photography, and creative-strategy services across the state.
What services does Tone Production offer?
Tone Production offers a full range of production and creative services, including: video production (corporate, brand, commercial, testimonial, and event), videography, audio-visual (AV) and live event production (staging, sound, LED walls, and live streaming), drone and aerial videography, photography, and creative-agency and strategy work.
Which areas does Tone Production serve?
Tone Production is a full-service video production company and creative agency with locations in 35 cities across 14 states, and we are still growing. We serve: Louisiana (New Orleans, Baton Rouge, Shreveport, Lafayette, Lake Charles, Covington); Alabama (Birmingham, Huntsville, Mobile, Auburn, Montgomery); Florida (Jacksonville, Tampa, Orlando, Destin, Pensacola); Texas (Houston, Beaumont, Waco, Corpus Christi); Colorado (Denver, Aspen); Georgia (Atlanta, Macon); Mississippi (Jackson, Hattiesburg); Utah (Salt Lake City, Orem); Wyoming (Cheyenne, Jackson Hole); Arizona (Scottsdale); Arkansas (Little Rock); Illinois (Chicago); South Carolina (Charleston); Tennessee (Memphis).