
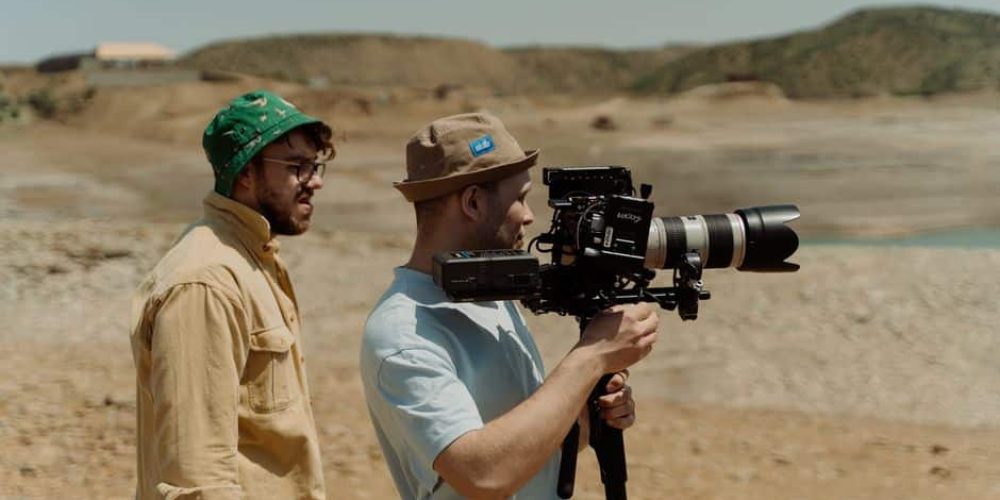
You can survive a shaky shot. You can fix a bad exposure in post. But you cannot recover footage that was never backed up. Of all the things that can derail a video project, data loss is the most catastrophic—and the most preventable. Yet media management is also one of the most under-planned parts of most shoots.
This guide covers exactly how to back up and organize footage both on set and at wrap, using the same structured approach professional crews rely on. Whether you’re a solo shooter or running a multi-camera day, this workflow will protect your files and make your editor’s life significantly easier.
Why Media Management Deserves Pre-Production Attention
Most productions think about cameras, lighting, and audio before a shoot. Media management is an afterthought—and that’s where things go wrong. Before a shoot begins, your camera department, production team, and post-production team need to align on codec, resolution, and expected data volume. Those decisions directly affect how many cards you need and what storage solution makes sense on set.
If you’re shooting 8K RAW—as Tone Production does on cinema-level client work—a single day of production can generate multiple terabytes of footage. That changes everything about your card rotation plan, your drive selection, and how long offloads take between setups.
The 3-2-1 Backup Rule: The Only Rule That Matters
The professional standard for footage backup is the 3-2-1 rule: three copies of your data, stored on at least two different types of media, with one copy in a separate physical location. In practice, this means:
- Copy 1: Your working drive—the drive your editor or you pull from actively.
- Copy 2: A second external drive that mirrors Copy 1, kept separate and never used for editing.
- Copy 3: An off-site copy—either a third physical drive stored elsewhere or a cloud upload.
A critical but often-missed detail: always make your backup copies from the original camera card, not from another drive. If your first drive has a corrupt file and you clone that drive instead of re-pulling from the card, your backup inherits the same corruption. Your footage can be gone permanently once that card is reformatted.
On-Set Card Discipline: Don’t Format Until You’re Certain
Card rotation is where data loss most commonly happens. Most productions reuse cards throughout the day—once a card is full, it gets offloaded and reformatted so it can go back into the camera. That creates a dangerous window.
The rule: never reformat a card until it has been verified on at least two separate drives.
Use a software tool like ShotPut Pro to offload cards to multiple drives simultaneously and run checksum verification automatically. A checksum confirms that every bit of data transferred correctly. Without it, you’re assuming your copy is good—and assumptions cost careers.
On multi-day shoots, a practical card discipline system looks like this:
- Label each card by day and camera (e.g., Day1-CamA, Day1-CamB).
- Use a physical card wallet with “Shot / Offloaded / Cleared” slots—move cards through the workflow deliberately.
- Do not reformat any card until the day’s offload is confirmed on two drives.
- Keep the previous day’s cards intact until you have verified both backup copies.
Folder Structure: Build It Once, Reuse It Forever
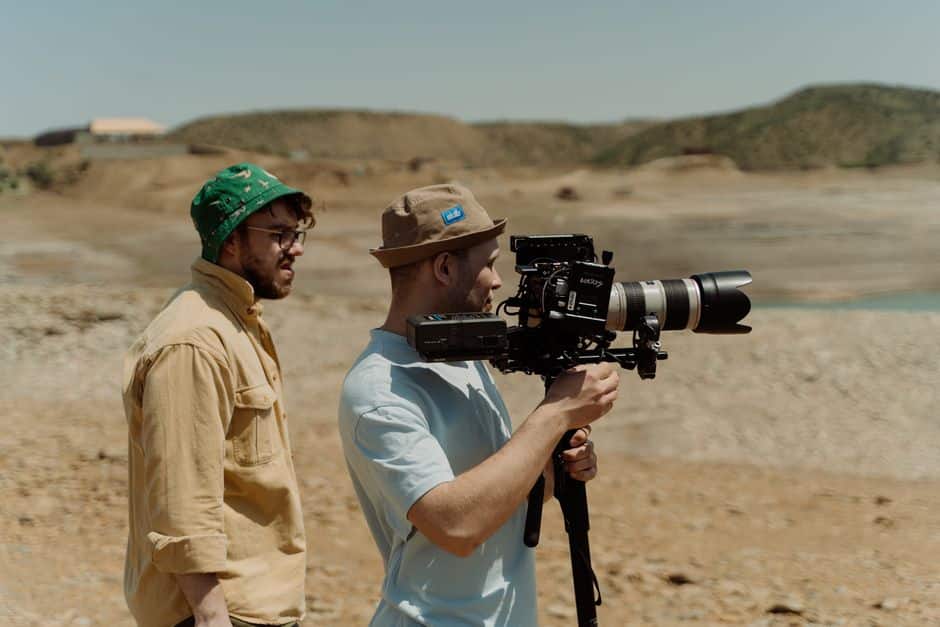
Disorganized footage is nearly as painful as lost footage. When an editor opens a project folder and finds hundreds of clips with names like MVI_0047.MOV dumped into a single directory, hours of organizing time get added to the budget before a single cut is made.
A clean folder structure should be templated, duplicated for every project, and populated during offload—not afterward. Here is a practical top-level structure:
- 01_RAW_FOOTAGE/ — Camera originals, organized by day and camera angle
- 02_AUDIO/ — Field recorder files, boom tracks, lav recordings
- 03_STILLS/ — Production stills and reference images
- 04_PROJECT_FILES/ — Editing project files (.prproj, .drp, etc.)
- 05_EXPORTS/ — Drafts and final deliverables, versioned
- 06_DOCS/ — Scripts, call sheets, shot lists, contracts
Inside 01_RAW_FOOTAGE, break down by shoot day and camera:
- Day01 > CamA / CamB / Drone
- Day02 > CamA / CamB / Drone
This structure mirrors itself identically across both backup drives. When your editor links media, they know exactly where to look regardless of which drive they’re working from.
File Naming Conventions: Be Specific, Be Consistent
Camera-generated filenames like DSC_0001.MOV tell you absolutely nothing. A professional naming convention includes enough context that anyone—including you six months later—can identify a clip without watching it.
A reliable format follows this pattern:
YYYYMMDD_ProjectName_Scene_CamID_Take.ext
For example: 20250610_ClientBrand_Interview_CamA_T03.MOV
Key conventions to stick to:
- Use YYYY-MM-DD date format so files sort chronologically by default.
- Keep filenames under 35 characters—shorter names reduce cross-platform compatibility issues.
- Use lowercase with hyphens or underscores—avoid spaces, which cause problems in some NLEs and command-line tools.
- Never use special characters: no / \ : * ? ” < > |
Proxy Workflow: Organize for Editing Speed, Not Just Safety
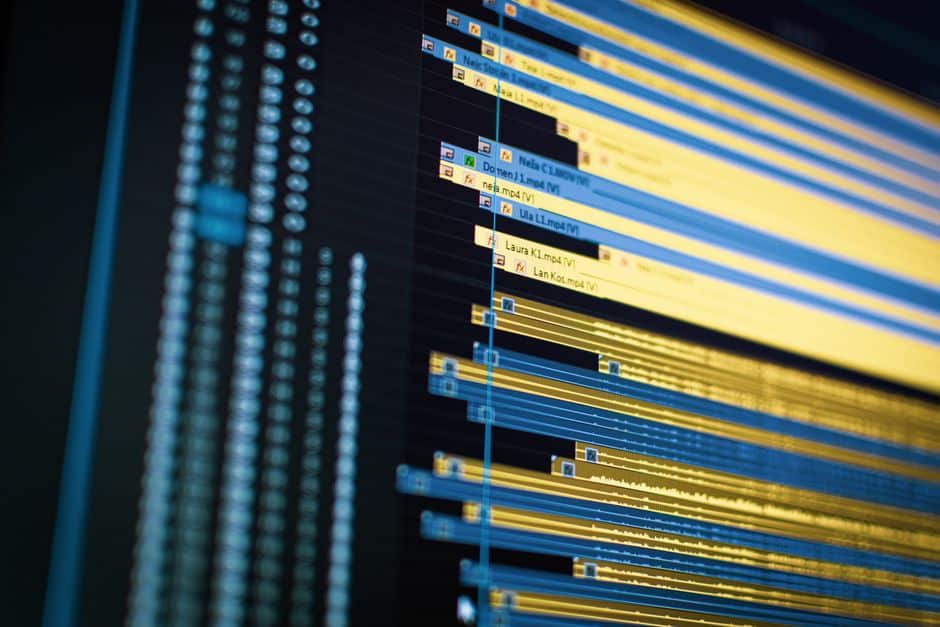
If you’re shooting in a high-resolution or high-bitrate codec—ProRes RAW, BRAW, REDCODE, or similar—your editing machine may struggle to play footage back in real time. A proxy workflow solves this by generating smaller, lower-resolution versions of your original files that the editor cuts with. The NLE then relinks to the originals at export.
Proxies should live in their own folder (01_RAW_FOOTAGE > Proxies) and be clearly labeled as such. Many productions generate proxies overnight after the day’s offload, so they’re ready when the editor starts in the morning. DaVinci Resolve and Adobe Premiere Pro both support proxy workflows natively and can generate them automatically as part of a media management task.
Cloud Backup: When to Use It and When to Skip It
Cloud storage is an excellent third copy—but it’s rarely practical as a real-time on-set solution. A single day of 4K or 8K footage can easily exceed several terabytes, and upload speeds on location rarely support that volume quickly enough to be useful between shooting days.
A realistic cloud strategy for most productions:
- Use cloud (Backblaze B2, Wasabi, or similar cold storage services) as the third off-site copy once you’re back at your studio or office.
- For smaller productions shooting compressed formats (H.264/H.265), cloud upload on set via a hotspot is more feasible.
- Never rely on cloud as your only second copy during an active shoot—upload failures happen.
End-of-Project Archiving: Don’t Skip This Step
When a project wraps and the deliverable is approved, the temptation is to move on. But proper archiving is what separates a professional shop from a reactive one. Clients request revisions months or years later. Licensing disputes arise. You may need to recut a piece for a different platform.
A clean archive includes the final project file, all RAW camera originals, the final export, and any key assets (music licenses, graphics, documents). Store the archive on a dedicated drive clearly labeled by client and date, separate from your active working drives. Log every archive in a simple spreadsheet so you can locate projects without plugging in every drive you own.
Productions that invest in a rigorous media management workflow—like the team at Tone Production—treat backup and organization not as overhead, but as a core deliverable. From corporate shoots in Houston to branded content projects in Atlanta or multi-day documentary work in New Orleans, the same disciplined workflow protects every frame regardless of location or scale.
The bottom line: footage backup is insurance you buy before you need it. Build the template, run the workflow on every shoot without exception, and you will never lose a client’s footage to a drive failure or a reformatted card.
Frequently Asked Questions
What is the 3-2-1 backup rule for video footage?
The 3-2-1 rule means keeping three copies of your footage on at least two different types of storage media, with one copy stored in a separate physical location. For example: one working drive, one backup drive kept offline, and one cloud or off-site drive. This ensures that no single failure—hardware, theft, or disaster—can wipe out all copies.
When should I format my camera cards on a shoot?
Never reformat a camera card until you have verified that the footage has been successfully copied to at least two separate drives. Use checksum verification software (such as ShotPut Pro) to confirm file integrity before clearing a card. On multi-day shoots, keep the previous day’s cards intact until both backup copies are confirmed.
What is the best folder structure for video production projects?
A reliable structure separates raw footage, audio, stills, project files, exports, and documents into clearly numbered top-level folders. Inside your raw footage folder, organize by shoot day and camera. Mirror this identical structure across both your working drive and your backup drive so editors can link media consistently regardless of which drive they use.
What file naming convention should videographers use?
Use a format that includes date (YYYY-MM-DD), project name, scene or subject, camera ID, and take number—for example: 20250610_ClientName_Interview_CamA_T02.MOV. Keep filenames under 35 characters, use lowercase with hyphens or underscores instead of spaces, and avoid special characters that can cause issues across operating systems and NLEs.
Do I need cloud backup for video footage on a shoot?
Cloud backup is strongly recommended as your third off-site copy, but it’s rarely practical as a real-time on-set solution for high-resolution footage. Terabytes of 4K or 8K data take far too long to upload on a typical location connection. A better approach is to maintain two physical drives on set, then sync to cloud storage once you return to your studio or office.
What is a proxy workflow and how does it relate to footage organization?
Proxies are smaller, lower-resolution versions of your original camera files that editors use for faster playback during the editing process. They should be stored in a clearly labeled subfolder within your raw footage directory and never mixed with camera originals. NLEs like DaVinci Resolve and Adobe Premiere Pro can generate and manage proxies automatically, then relink to full-resolution files at export.
How long should I keep archived footage after a project is delivered?
Most professional productions archive raw footage and project files for a minimum of one to three years after delivery, though some retain archives indefinitely. Client revision requests, licensing audits, and repurposing opportunities are all common reasons footage gets pulled long after a project wraps. Store archives on clearly labeled, dedicated drives logged in a searchable spreadsheet.