
You shot a great scene. The edit feels tight. But when you play it back, something still feels off — flat, clinical, or just not quite finished. Nine times out of ten, color grading is the missing step. Knowing how to color grade video is the difference between footage that looks raw and footage that looks intentional, emotional, and cinematic.
This guide covers the entire beginner workflow: the distinction between correction and grading, the tools you’ll actually use, the order of operations professionals follow, and the common mistakes that undercut otherwise solid work. Whether you’re editing corporate videos, brand content, or short films, these principles apply directly.
Color Correction vs. Color Grading: They Are Not the Same Thing
Before touching a single slider, you need to understand this distinction — because mixing them up is the single most common beginner mistake.
Color correction is a technical process. It fixes problems in your footage: correcting white balance, adjusting exposure, balancing skin tones, and ensuring consistency between shots from different cameras or lighting setups. The goal is to make your footage look natural and accurate.
Color grading is a creative process that comes after correction. It applies a deliberate visual style to your already-corrected footage — adding warmth for nostalgia, cool tones for tension, or desaturation for a gritty documentary feel. The goal is to create mood and emotion.
Think of it this way: color correction makes your footage look right; color grading makes it look intentional. Always correct first, then grade. Trying to grade uncorrected footage is like painting over rust — the problems bleed through.
The Essential Tools: What You’re Actually Adjusting
Every color grading interface, regardless of software, gives you the same core set of controls. Understanding what each one does removes the intimidation factor immediately.
Wheels, Curves, and Sliders
- Lift / Gamma / Gain (or Shadows / Midtones / Highlights): These three wheels let you push color into specific tonal ranges. Want teal shadows and orange highlights? This is where it happens.
- Curves: The most precise grading tool available. An S-curve on the luma channel boosts contrast instantly. Individual RGB curves let you, for example, pull red out of shadows or push green into midtones with surgical accuracy.
- Saturation: Controls color intensity globally. Use it sparingly — over-saturated footage looks amateur. A slight desaturation often reads as more cinematic.
- Hue vs. Saturation / Hue vs. Hue: Allows you to isolate a specific color range and adjust only that. Want to make a subject’s jacket a deeper navy without touching the sky? This is your tool.
- Color Temperature & Tint: Temperature shifts footage warm (yellow) or cool (blue). Tint shifts toward magenta or green. These are your primary white-balance correction handles.
Scopes: Grade With Your Eyes and Your Instruments
A calibrated monitor matters, but scopes are your objective truth. Learn to read three of them:
- Waveform: Shows luma (brightness) distribution from left to right across your frame. Ideal for checking exposure — keep the bulk of signal between roughly 10–90 IRE (or 64–940 in a 10-bit workflow) to avoid crushing blacks or clipping highlights.
- Parade: Splits the waveform into R, G, and B channels side by side. If red rides consistently higher than blue and green on a neutral white wall, your whites aren’t balanced — fix it here.
- Vectorscope: Shows hue and saturation in a circular display. Skin tones of virtually every human complexion should fall along a diagonal line called the “skin tone indicator line.” This is the fastest way to verify your skin tones are correct before you grade.
Choosing Your Software
Three tools dominate professional color work. Each has a distinct place in the ecosystem.
DaVinci Resolve (Free & Studio)
The industry standard for dedicated color work. DaVinci Resolve’s free version contains a full professional-grade color page with node-based grading, full scopes, LUT support, and HDR tools. The Studio version (a one-time purchase) adds AI-assisted tools, more noise reduction options, and collaboration features. For anyone serious about color grading, Resolve is the starting point — and often the ending point.
Adobe Premiere Pro
Premiere’s Lumetri Color panel gives editors a capable correction and grading workflow inside their edit timeline. It’s excellent for fast-turnaround projects where you don’t want to round-trip to another application. The curves, HSL secondaries, and vignette controls cover most commercial grading needs. Premiere also integrates with After Effects for motion graphics and color effects simultaneously.
Final Cut Pro
Apple’s Final Cut Pro has a strong color board and color wheels panel that non-linear editors find intuitive. Its Color Curves tool and built-in LUT browser make it a legitimate grading environment for Mac-based workflows, especially in fast-paced run-and-gun production.
LUTs: What They Are and How to Use Them Without Crutching
A LUT (Look-Up Table) is essentially a saved color transformation — a mathematical recipe that remaps input colors to output colors. They come in two types:
- Technical LUTs (Camera LUTs): Convert log or flat footage (like Sony S-Log3, Canon C-Log3, or ARRI LogC) into a viewable Rec.709 image. These are essential when shooting log — without a technical LUT, your flat footage is ungraded and hard to evaluate on a standard monitor.
- Creative LUTs: Apply a stylized look — film emulation, a specific mood, or a branded color palette. These are starting points, not finishing moves. Apply a creative LUT at reduced opacity (around 40–70%) and then continue grading on top of it.
The biggest beginner mistake with LUTs: applying a creative LUT to incorrectly exposed or unbalanced footage. Always correct first, apply your LUT second, then grade on top. A LUT applied to poorly exposed footage will amplify those problems, not hide them.
A Practical Color Grading Workflow, Step by Step
Professional colorists follow a deliberate order. Here’s a workflow that works for commercial, documentary, and brand video:
Step 1: Balance Your Exposure
Use the waveform to lift crushed shadows and bring clipped highlights under control. Get your luma distribution right before touching any color controls.
Step 2: Set White Balance
Use the parade scope to balance your RGB channels on a neutral element — a white wall, gray card, or neutral clothing. Adjust temperature and tint sliders until R, G, and B trace at the same level on neutral areas.
Step 3: Set Contrast and Lift Your Blacks
Many cinematically graded videos have slightly lifted (not crushed) blacks — a subtle “faded” look that adds sophistication. Use the lift wheel or a curves adjustment to raise the floor minimally. Avoid crushing blacks to pure 0 unless you’re going for an ultra-high-contrast look intentionally.
Step 4: Check Skin Tones on the Vectorscope
Before making any creative moves, confirm skin tones fall on the skin tone indicator. This protects you from drifting into tones that look diseased or artificial.
Step 5: Apply Your Creative Grade
Now introduce your look — push warmth into highlights, pull teal into shadows, desaturate selectively. Work subtly. On a calibrated monitor, small moves look large in a theater or on a client’s television.
Step 6: Match Shots and Verify on Multiple Screens
Consistency across your timeline is just as important as the look itself. Use your software’s shot-matching tools or manually reference the waveform across cuts. Before finalizing, review your grade on multiple displays — a laptop screen, a phone, and an external monitor — to catch any shifts that only appear on certain devices.
Common Beginner Mistakes to Avoid
- Grading on an uncalibrated monitor. If your display is oversaturated or has a color cast, you’ll compensate in the wrong direction. A hardware-calibrated monitor isn’t required to start, but avoid grading on a laptop in direct sunlight.
- Over-saturating. The instinct is to make colors “pop,” but aggressive saturation reads as amateurish. Pull back further than feels right — it usually looks better on delivery screens.
- Skipping correction and going straight to a LUT. This is the most common shortcut that produces inconsistent, broken-looking grades.
- Ignoring continuity. A beautiful grade on one shot that doesn’t match the adjacent shot breaks the edit. Match first, create second.
- Copying grades between projects. Every camera, every scene, every lighting condition produces different raw footage. A grade that worked perfectly on one project may be completely wrong for another.
Shooting to Grade: What to Do Before You Even Open the Editor
Color grading starts on set. Shoot in your camera’s log or flat picture profile whenever possible — this preserves the widest dynamic range and gives the colorist maximum latitude. A camera shooting in an aggressive, high-contrast picture profile bakes decisions in that cannot be undone in post.
If you’re working with 8K RAW cinema cameras — the workflow used on professional productions like those at Tone Production — you have enormous post flexibility: you can recover highlights, shift white balance non-destructively, and build a look that couldn’t exist from a compressed, in-camera JPEG-style codec.
Bring a gray card or color checker on set. Shoot a frame of it under the key light at the start of each lighting setup. In post, that single frame cuts your correction time dramatically and gives every shot in that setup a verified neutral starting point.
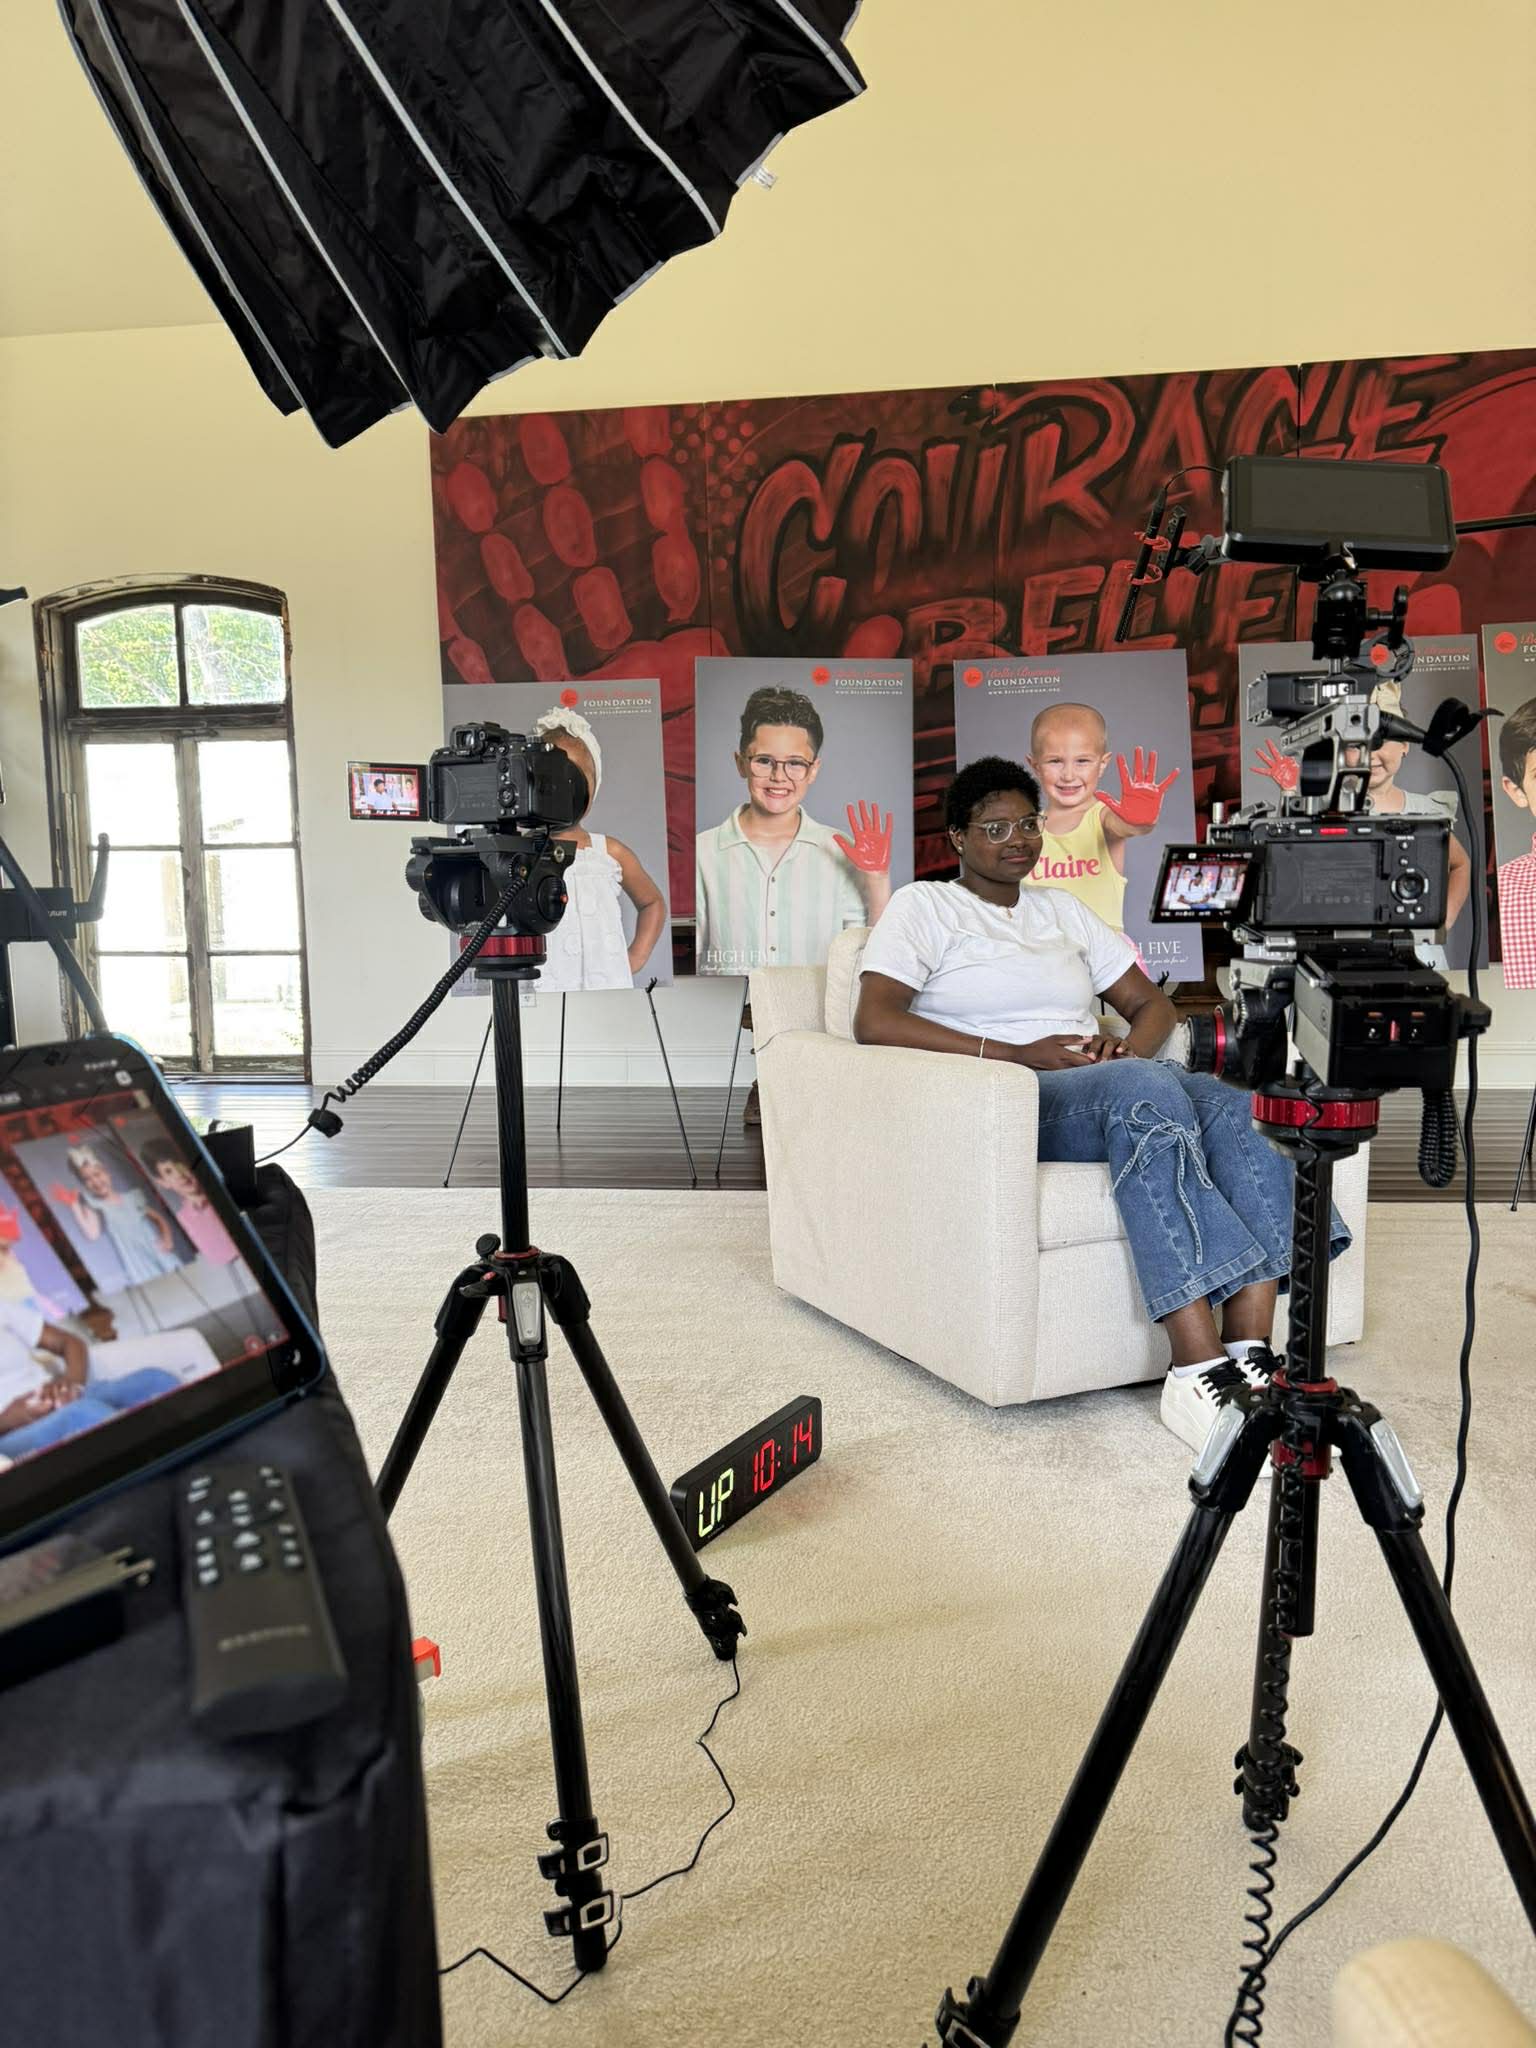
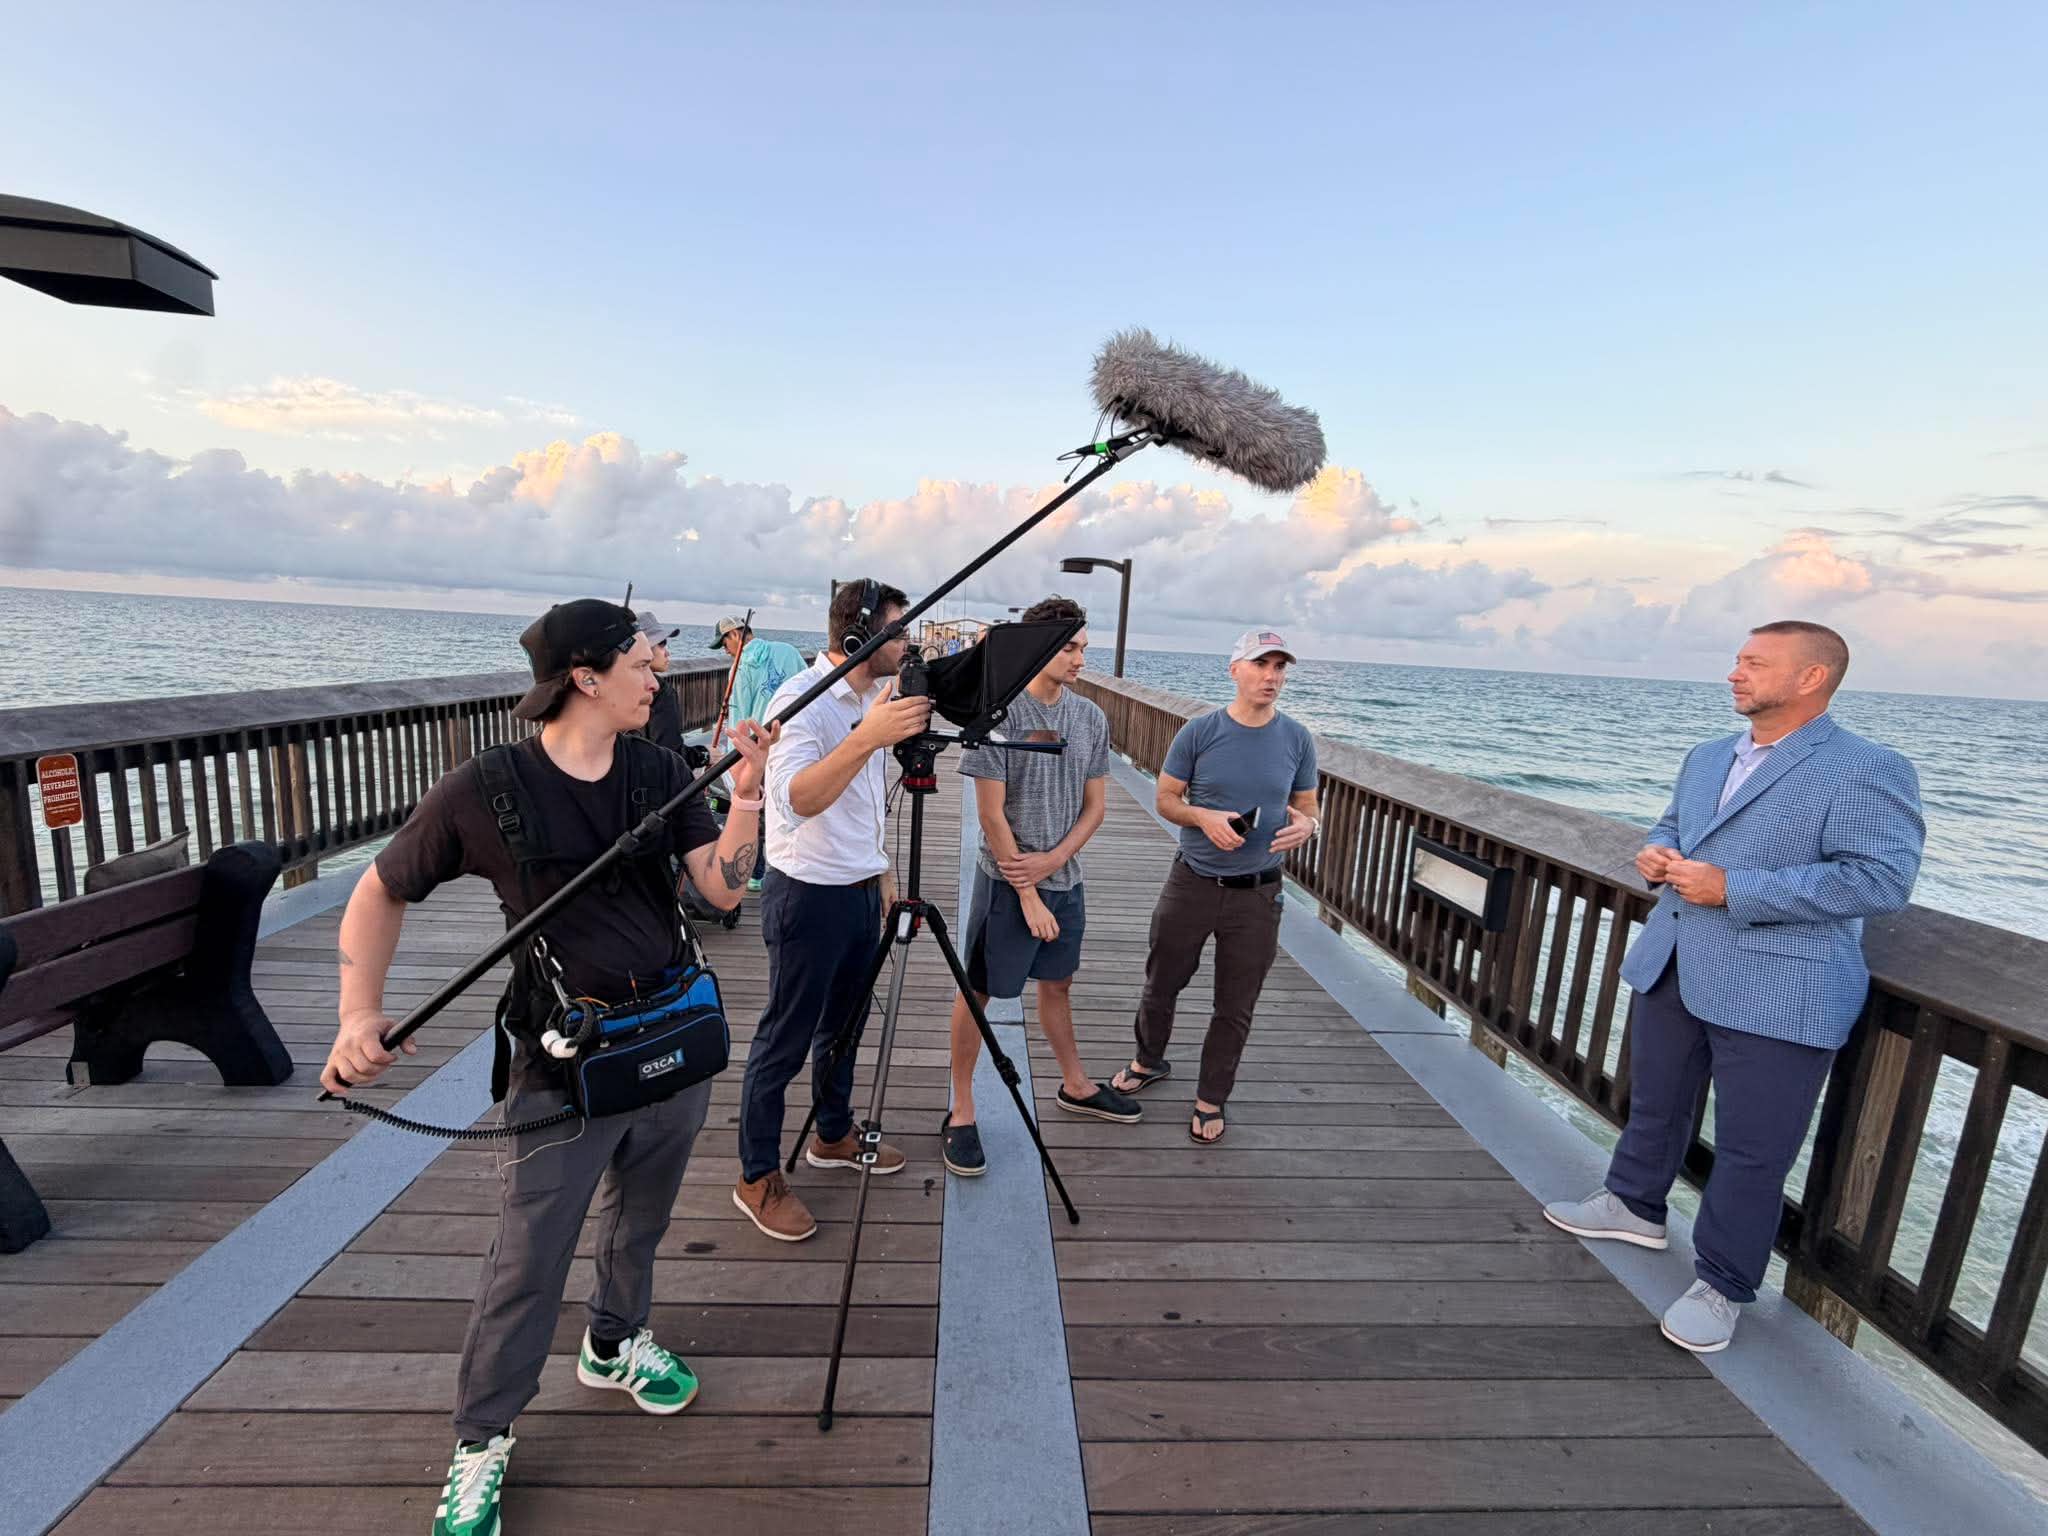
Teams at agencies like Tone Production in New Orleans, Houston, and Atlanta build color-pipeline decisions — log profiles, LUT libraries, and target deliverables — into pre-production, not post. That upstream thinking is what enables a consistent cinematic look across a multi-day, multi-location project.
Final Delivery: Knowing Your Color Space and Output Target
Your grade must be delivered in the correct color space for its destination. The most common targets:
- Rec.709, SDR: Standard for web video, YouTube, broadcast, and most client deliverables. This is your default output unless specified otherwise.
- Rec.2020 / HDR (HLG or PQ): For HDR delivery on streaming platforms or HDR-capable broadcast. Requires an HDR-capable monitoring setup to grade correctly.
- DCI-P3: The cinema color space. Required for theatrical deliveries and increasingly used for high-end streaming.
Exporting a Rec.2020 HDR grade into a Rec.709 container — or vice versa — without proper conversion will make your entire color grade look wrong on every viewer’s screen. Confirm your project color science settings before you start, not after.
Color grading is a craft that rewards patience, curiosity, and a willingness to watch great films analytically. Start with correction, move to creative, stay subtle, and verify on multiple screens. The technical side becomes intuitive faster than you’d expect — and once it does, it becomes one of the most rewarding parts of the entire production process.
If you want to go deeper on production craft, the team at Tone Production in Tampa and Jacksonville regularly shares production workflow insights built from real-world client projects across industries.
Frequently Asked Questions
What is the difference between color correction and color grading?
Color correction is a technical step that fixes exposure, white balance, and consistency issues to make footage look natural and accurate. Color grading is the creative step that follows — it applies a deliberate visual style and mood to already-corrected footage. You should always correct before you grade.
What software should a beginner use to color grade video?
DaVinci Resolve is the most recommended starting point for dedicated color work — its free version includes a full professional color page with nodes, scopes, and LUT support. Adobe Premiere Pro’s Lumetri Color panel is a solid choice if you’re already editing in Premiere and want to keep everything in one application. Final Cut Pro is well-suited for Mac-based workflows.
What are LUTs and should beginners use them?
What are LUTs and should beginners use them?
A LUT (Look-Up Table) is a saved color transformation that remaps your footage’s colors toward a specific look. Technical LUTs convert log footage to a viewable image; creative LUTs apply a stylized look. Beginners can use creative LUTs as a starting point, but should always color-correct the footage first, apply the LUT at reduced strength (40–70%), and then continue grading on top — rather than relying on a LUT as a one-click solution.
Do I need an expensive monitor to color grade?
A hardware-calibrated, wide-gamut monitor gives the most accurate grading environment, but beginners don’t need to invest in one immediately. What matters most is consistency: grade in a darkened room on a screen with neutral settings, and always review your final grade on multiple devices (laptop, phone, TV) before delivering to a client. As your work becomes more professional, investing in calibration becomes increasingly worthwhile.
Should I shoot in log or flat profile if I plan to color grade?
Yes. Shooting in your camera’s log or flat picture profile preserves the maximum dynamic range and gives you far more flexibility in post. It allows you to recover highlights, adjust white balance non-destructively, and build a more sophisticated look than footage shot in a high-contrast, in-camera style. Just make sure to apply a technical LUT to your log footage in your editing software so you’re viewing a correctly exposed image while you work.
How do I keep the color consistent across multiple shots in my edit?
Start by color-correcting every shot to a neutral baseline before applying any creative grade. Use your software’s shot-matching feature (available in DaVinci Resolve and Premiere Pro) and verify consistency using the waveform and vectorscope across cuts. Applying your creative grade to an adjustment layer or group node (in Resolve) rather than shot-by-shot also helps maintain a unified look across the timeline.
What is the correct color space for delivering video to YouTube or a client?
Rec.709 in standard dynamic range (SDR) is the correct color space for the vast majority of web video deliveries, including YouTube, social media, and standard client deliverables. HDR delivery (Rec.2020 with HLG or PQ transfer function) is only appropriate when the client specifically requires it and you have an HDR-capable monitor to grade on. Always confirm your output color space before beginning a project.
New Orleans Video Production Company: Corporate Video Pricing in 2026 — What Budgets Actually Buy
Video Production Business Gear: What You Actually Need to Start
Tampa Videographers: 6 Proven Tips for Real Estate Video That Sells the Space