
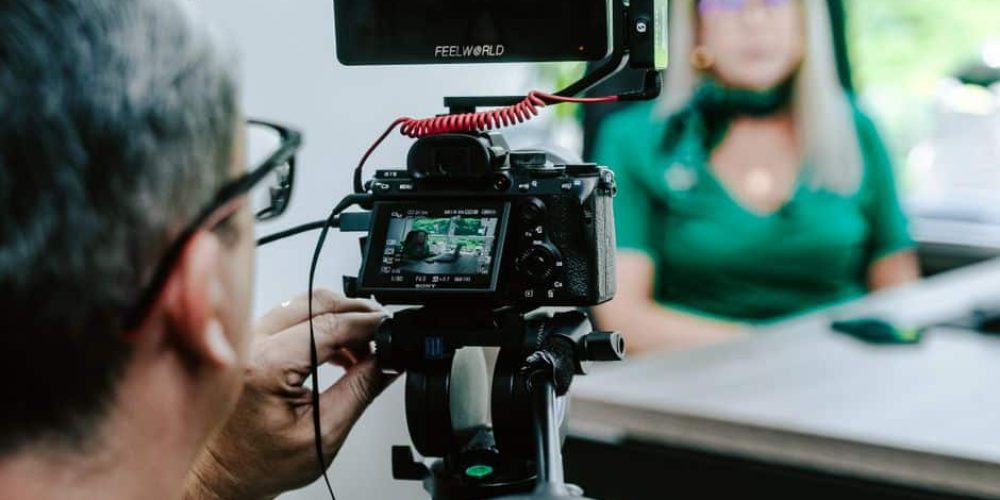
Filming a professional interview at the office sounds simple on paper. You have a subject, a camera, and a room. But the gap between footage that looks polished and footage that looks like an internal Zoom call comes down to dozens of small, deliberate decisions — from which conference room you pick to how you place your subject’s eyeline relative to the lens.
This guide walks through every production stage — pre-production, on-set setup, camera and audio configuration, subject direction, and post — with a focus on the specific challenges that come with working inside a real office environment rather than a controlled studio.
Stage 1: Pre-Production — Decide the Purpose Before You Book the Room
The single most skipped step in corporate interview production is defining why the video exists before any gear is touched. Is it a founder story for the homepage? A testimonial to shorten the sales cycle? A recruiting piece to attract talent? The purpose shapes everything downstream: how long the interview runs, which questions get asked, which locations make sense, and how the edit is structured.
Once the objective is clear, write an outline — not a rigid script, but a conversation arc with specific topics in a deliberate order. Even if the conversation goes off-script, having a trajectory keeps the shoot efficient and gives the editor logical anchor points.
Location Scouting Inside the Office
Not every room films equally well. When walking the space ahead of shoot day, evaluate each candidate location against four criteria:
- Depth: The room needs enough space to separate the subject from the background by at least six feet. That separation is what allows a wide aperture to produce a softly blurred background, keeping focus on the speaker.
- Acoustic quality: Rooms with hard floors, glass walls, and high ceilings create echo that is expensive to fix in post. Carpeted rooms with soft furnishings absorb sound naturally. Listen for HVAC noise — it is the most common audio killer in office environments.
- Light control: A room with large windows on one wall is an asset if you can schedule around direct sunlight; it becomes a liability if you can’t. Rooms with no windows give you full control but require more lighting gear.
- Background content: The background should reinforce the brand without competing with the speaker. Bookshelves, branded elements, and soft environmental depth all work well. Avoid busy patterns, legible signage that could distract, and anything in the frame that moves or flickers.
Once you’ve chosen the room, tape the floor to mark where the chair and camera will go. This saves significant setup time on shoot day and keeps every interview consistent if you’re filming multiple subjects.
Stage 2: Lighting the Office Interview
Three-point lighting is the foundation of any professional interview. The key light — your brightest source — goes roughly 45 degrees to the side and slightly above the subject’s eye level. The fill light sits on the opposite side at a lower intensity to soften the key’s shadow without eliminating it entirely. A backlight or hair light separates the subject from the background and adds dimensionality that flat, overhead fluorescents simply cannot.
Dealing With Office Fluorescents and Mixed Sources
Overhead fluorescent and LED office lighting is rarely usable as-is. It casts unflattering downward shadows, often flickers at certain frame rates, and typically renders skin tones poorly. The practical approach: turn off the overhead fixtures in the interview area and build your own light from scratch with portable LED panels. This gives you full control over color temperature and intensity.
If the room has large windows, decide whether the natural light is your key or your enemy. Side window light can function beautifully as a natural key if it’s soft (overcast sky or indirect sun), but a bright window directly behind the subject will blow out the exposure. Use blackout curtains or reposition the subject so the window light wraps around rather than competes with your artificial key.
Background Lighting
The light falling on your background matters as much as the light on your subject. A background that is slightly dimmer than the subject creates natural visual separation. A background that is brighter than the subject draws the eye away from the speaker — the opposite of what you want. If the background has depth (like a row of bookshelves or a hallway), a subtle practical light placed further back adds visual interest without competing for attention.
Stage 3: Camera Setup, Framing, and Settings
Camera Position and Eyeline
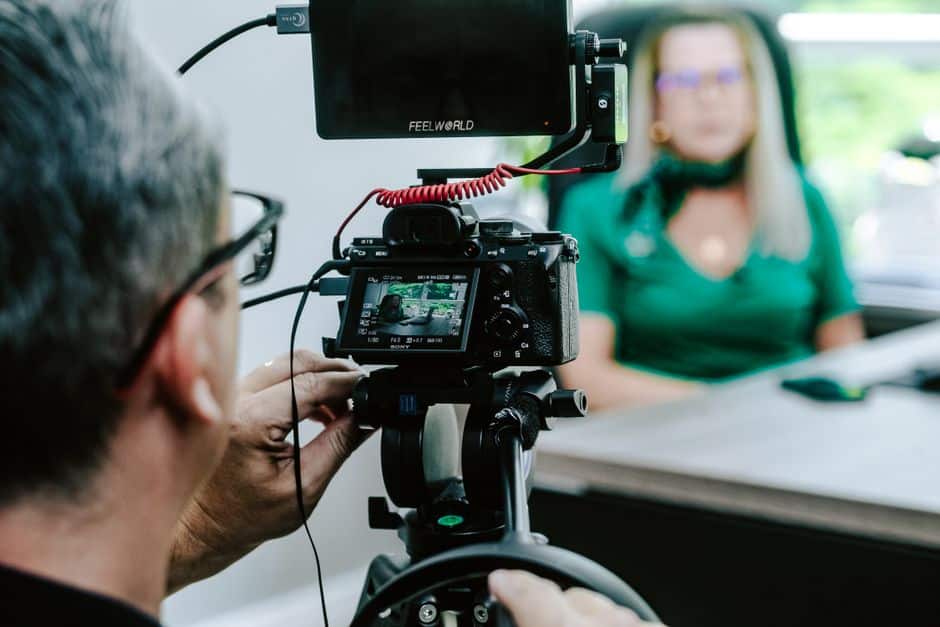
Position the camera lens at the subject’s nose level — not forehead level, not chin level. This produces the most natural, flattering perspective. The interviewer should sit directly beside the camera, just outside the frame. This keeps the subject’s eyeline a few degrees off-axis from the lens, which is the standard look for corporate documentary interviews. If the interviewer sits too far to the side, the subject appears to be staring at the edge of the frame rather than engaging with a person.
For framing, a medium close-up — roughly from mid-chest to just above the top of the head — is the workhorse shot. Apply the rule of thirds: place the subject’s eyes on the upper horizontal grid line and leave breathing room on the side they’re looking toward. Avoid centering the head in the exact middle of the frame, which reads as flat and static.
Two-Camera Setup for Maximum Edit Flexibility
A single camera is workable, but a two-camera setup dramatically increases what’s possible in the edit. Camera A is your primary locked-off medium close-up. Camera B is a slightly wider or tighter angle, often offset a few degrees from Camera A on the same side of the subject. When running two cameras, place the interviewer outside both cameras — placing the subject’s eyeline between the two cameras creates spatial continuity problems that are difficult to fix in post.
Match white balance and exposure across both cameras before rolling. Use a clap or slate at the top of the interview to give yourself a clear sync point in the edit.
Key Camera Settings
- Frame rate: 24fps for a cinematic feel; 30fps if the footage will be used primarily online or if it needs to intercut with screen recordings.
- Shutter speed: Follow the 180-degree rule — double your frame rate. At 24fps, that’s 1/48 (use 1/50). At 30fps, that’s 1/60.
- Aperture: Wide apertures (f/1.8–f/2.8) separate the subject from the background and produce that professional shallow depth of field. Lock focus on the subject’s eyes and use manual focus if your camera’s autofocus hunts.
- Picture profile / log: Shoot in a log or flat profile if your camera supports it. This preserves highlight and shadow detail and gives the colorist more latitude in post. Apply a LUT during the offline edit for a working preview.
- White balance: Set manually to match your lighting temperature. Never leave white balance on auto during an interview — automatic adjustments mid-roll are very difficult to correct in post.
Stage 4: Audio for Office Interviews
Audio is where office interview productions most commonly fail. The camera’s built-in microphone is not an option — it captures too much room tone and has no meaningful directionality for seated interview subjects.
The standard approach for office interviews is a dual-mic strategy: a lavalier (lapel) mic clipped at upper chest level as the primary source, and a boom or shotgun mic positioned just above or below the frame as a backup. If the lavalier picks up clothing rustle or HVAC noise, the boom track saves the interview. Run both into a field recorder or directly into the camera’s dual-channel input and monitor levels with headphones throughout the shoot.
Before the interview begins, record 30 seconds of room tone — the ambient sound of the space with everyone quiet. This is invaluable in post for filling audio gaps and smoothing edits.
Stage 5: Directing the Subject
Most interview subjects are not experienced on camera. The most technically perfect setup will underdeliver if the person on screen is stiff, rushed, or visibly anxious. A few minutes of deliberate subject preparation before rolling makes an outsized difference in the quality of the content.
- Share the topic areas in advance so the subject isn’t going in cold.
- Tell them explicitly that any answer can be redone — this removes the pressure of performing perfectly in one take.
- Ask open-ended questions that require full-sentence answers. Questions answerable with “yes” or “no” produce unusable clips.
- Encourage them to incorporate the question into their answer so each response works as a standalone clip.
- Normalize pauses. Nervous subjects rush to fill silence; comfortable pauses often precede the most genuine and thoughtful responses.
At the very start of the interview, before asking substantive questions, ask the subject to state and spell their name and confirm their title. This takes fifteen seconds and eliminates lower-third errors in post.
Stage 6: B-Roll Planning and Post-Production
Planning B-Roll Before You Wrap
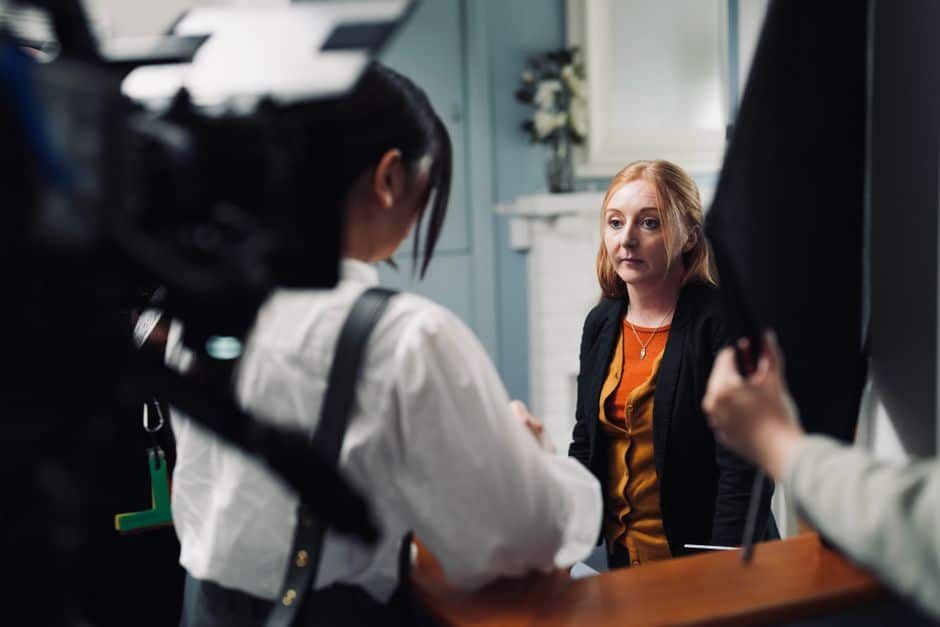
The interview itself is the A-roll — the spine of the piece. B-roll is what the editor cuts to while the subject’s audio continues, covering jump cuts, illustrating the topics being discussed, and giving the video visual momentum. Plan specific b-roll shots before shoot day and shoot more than you think you’ll need. Options in the edit create flexibility that missing footage cannot recover.
For an office interview, strong b-roll categories include: hands working at a keyboard, collaborative team moments, product or service details, environmental wide shots of the space, and detail close-ups relevant to whatever the subject discusses. Brief shoots scheduled immediately after the interview — while the crew is still set up and the subject is still available — are the most efficient way to capture usable b-roll.
Post-Production Essentials
In the edit, organize footage immediately with a clear folder structure before making a single cut. Color grade the interview to ensure natural skin tones and a background that reads as slightly darker than the subject. Keep audio consistent across cuts: level the interview track to a target of around -12 to -14 dBFS for dialogue, add subtle noise reduction if the room tone is noticeable, and export captions for every deliverable.
Productions at the level that Tone Production delivers typically include AI-enhanced post-production to speed transcription, noise removal, and export — turning a same-week turnaround into a realistic expectation rather than a premium add-on. Teams working across markets — from Houston to Atlanta to New Orleans — run the same workflow regardless of location, which keeps visual and audio consistency across multi-city interview campaigns.
The Office Interview Production Checklist
- Pre-production: Define video purpose → write question arc → scout and tape the room → schedule all interview subjects on the same day where possible
- Lighting: Kill overhead fluorescents → build three-point LED setup → control or block windows → add background separation light
- Camera: Lock white balance manually → set shutter to 2x frame rate → shoot in log → confirm focus on subject’s eyes → slate for sync
- Audio: Lav mic at upper chest → boom as backup → monitor with headphones → record 30 seconds of room tone
- Subject direction: Share topics in advance → normalize redoing answers → ask open-ended questions → get name/title slate at top
- B-roll: Plan shots before shoot day → capture immediately after interview → overshoot by 30%
- Post: Organize files before cutting → grade for natural skin tone → level audio to -12 to -14 dBFS → export captions
Office interviews are one of the highest-leverage video formats a company can invest in — credible, repurposable, and deeply useful across sales, recruiting, and brand-building. Whether you’re in a Tampa headquarters or a Baton Rouge mid-market office, the production principles are identical. Getting them right is entirely a matter of preparation and execution.
If you’d rather hand this off to an experienced team than tackle it yourself, Benjamin Tone and the crew at Tone Production handle corporate interview production end-to-end — from location scout through final deliverable. Reach out whenever the project is ready.
Frequently Asked Questions
How far should the subject sit from the background in an office interview?
At least six feet. This distance allows a wide lens aperture to produce a naturally blurred background, visually separating the subject from the environment. Closer than that and even a fast lens struggles to create meaningful background separation in a smaller office space.
Do I need two cameras for a corporate interview?
Not strictly, but a two-camera setup significantly improves your editing options. A single primary camera is workable for a polished single-subject interview. A second camera gives the editor coverage to cut around stumbles, reshape pacing, and add visual variety without the interview feeling repetitive on a long watch.
What microphone should I use for an office interview?
The most reliable approach is a dual-mic setup: a lavalier (lapel) microphone clipped at upper chest level as your primary source, with a boom or shotgun mic just outside the frame as a backup. Both tracks should be monitored with headphones throughout the shoot. The camera’s built-in microphone is not adequate for professional interview audio.
How do I handle overhead office lighting during an interview shoot?
Turn off the overhead fluorescents in the interview area and replace them with portable LED panels you control directly. Office overhead lighting typically casts unflattering downward shadows and can flicker at certain frame rates. Building your own three-point light from scratch gives you full control over color temperature, intensity, and shadow quality.
Where should the interviewer sit relative to the camera?
Directly beside the camera lens, just outside the frame. This keeps the subject’s eyeline only a few degrees off-axis, producing the natural slightly-off-camera look standard in corporate documentary interviews. If the interviewer sits too far to the side, the subject appears to stare at the edge of the screen rather than toward a person.
What camera settings should I use for a seated office interview?
Set your frame rate to 24fps (cinematic) or 30fps (online-native), shutter speed to double your frame rate (1/50 at 24fps, 1/60 at 30fps), aperture to f/1.8–f/2.8 for background separation, and white balance manually to match your lighting temperature. Shoot in a log or flat picture profile to preserve dynamic range for color grading in post.
How much setup time should I budget for an office interview?
Budget a minimum of 45–60 minutes before the first subject sits down. This covers lighting build, camera placement, audio check, room tone recording, and a test playback with headphones. Rushing setup is the most common cause of technical problems that only become visible during the edit.
What b-roll should I shoot at an office interview?
Plan b-roll that illustrates the topics the subject discusses: hands at a keyboard, team collaboration moments, product or service detail shots, environmental wides of the office, and relevant close-ups. Shoot immediately after the interview while crew and subject are still available, and overshoot by at least 30% — options in the edit are impossible to create retroactively from missing footage.